DIY Christmas pyramid ornaments add a personal touch to your holiday decorations as well as make wonderful gifts. When you make them with loved ones, you can create your own Christmas traditions and special memories.
To get ready for this special Christmas pyramid, we recommend watching the video that accompanies the step-by-step instructions and gathering the supplies that are listed before you get started.
List of Supplies :
- A Large Pyramid Mold
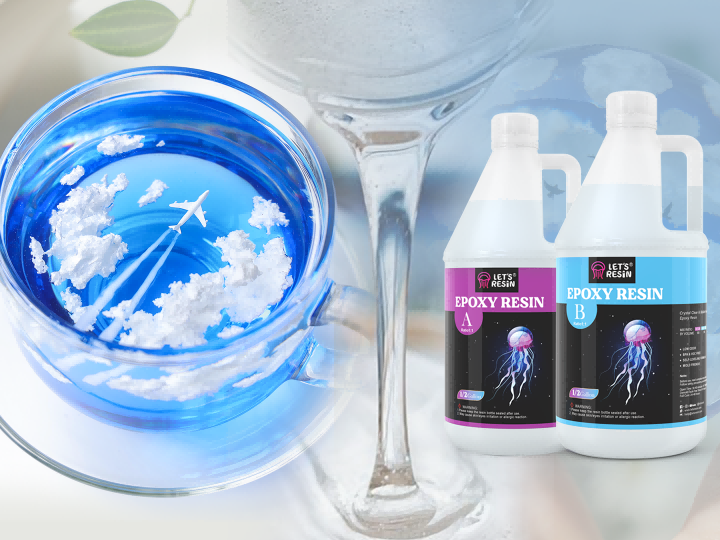
- LET’S RESIN Epoxy Resin
- LET’S RESIN Upgraded Clear UV Resin
- Mica Powder - White
- Mica Powder - Coffee
- Opaque Resin Pigment Paste- White
- A Silicone Mat
- Silicone Cups
- Resin Mixing Sticks
- A Pocket Digital Scale
- Gold Foil Flakes
- Waterproof String Lights
- Mini Christmas Ornaments
- A Hot Glue Gun
- A UV LED Lamp
- A Quick Drying Glue
Shop Set for Your Creation :
Steps to Create A Christmas Pyramid Light:
Step 1
Carefully pour a certain amount of part A of LET’S RESIN Epoxy Resin into a silicone cup, and then pour same amount part B of LET’S RESIN Epoxy Resin. Mixing ration is 1:1 by weight. Then use a resin mixing stick to mix them evenly. It should be at least 5 minutes for slow mixing, and then 2-3 minutes to reduce bubbles.
Step 2
Assemble the inner pyramid mold and frame.
Pour the first layer of resin mixed with gold foil flakes into the Large Pyramid Mold. The thickness of this layer of resin is about 3cm. And set them aside to solidify about 8 hours or longer.
* Please note that there are scale marks on the pyramid mold.
Step 3
Once this layer of epoxy resin is fully hardened, pour the resin with a thickness of approximately 1cm mixed with White Mica Powder of about 1cm thick, and set them aside to solidify about 8 hours or longer.
Step 4
(4-1) Choose some favorite mini Christmas ornaments, and wrap waterproof string lights on the mini Christmas tree ornaments. You can use quick-drying glue to do it.
(4-2) Add a suitable amount of LET’S RESIN UV Resin to a silicone cup in the shade without direct sunlight, and use White Opaque Resin Pigment Paste to dye it.
(4-3) Arrange the layout by using mini Christmas ornaments and the light string according to personal preferences, place them on the silicone mat, and carefully pour the white LET’S RESIN UV Resin that has just been mixed.
(4-4) Then use a UV LED lamp to solidify the LET’S RESIN UV Resin, so you can get a simple Christmas scene.
* Please note that the scene should not be too large, otherwise it will not fit into the pyramid mold.
Step 5
(5-1) Next, create a simple stand by using some mixing sticks, which will then be used to support the scene. Cut these mixing sticks in half.
(5-2) Glue the sticks together to a height of 1~2cm with quick-drying glue. Please note that the height can be adjusted by yourself.
(5-3) As shown in the picture, use quick-drying glue to stick 4 long sticks and 2 short sticks together. A simple stand is done.
Step 6
(6-1) Use a hot glue gun to combine the finished Christmas scene with the stand. It is recommended to use a thin copper wire to wrap them.
(6-2) Place them upside down on the pyramid mold. Please note that not to let them touch the inner wall of the mold.
Step 7
(7-1) Then pour the epoxy resin into the pyramid mold along the inner wall. Do not splash the resin on the scene. The thickness of this layer of glue is about 2~3cm.
(7-2) When the upper layer of resin almost solidify, pour the same thickness of resin again and wait for it to solidify completely.
(7-3) At this time, the resin should pass half of the scene. Carefully remove the upper shelf. You will find that the Christmas scene has been fixed on it by itself.
Step 8
Then continue to repeat the steps of pouring resin until the height of the resin is the same as the white UV resin.
Step 9
(9-1) When the upper layer of resin is completely dry, pour the resin mixed with the white Opaque Resin Pigment Paste.
(9-2) When the white part is dry, the rest is up to you. Here, The resin mixed with Coffee Mica Powder is used.
Step 10
(10-1)Set it aside to solidify. The epoxy resin will need at least 8 hours to fully dry. Once the epoxy resin is fully hardened, remove it from the mold.
(10-2) Turn on the string light. Look, what an amazing Christmas pyramid light!!! Now, Use it to decorate your home or give someone as a gift.
We hope this DIY Christmas craft idea will inspire you to create your own designs or to be used as a way to connect with your loved ones during the holiday season!
Please leave any questions or comments below.


1 comment
Loved this video and I am learning to use your resin also. I have used IV to make jewelry. Iam on my second order of your resin, I made some coasters and used the magically mica powders in them, really cool. Having a great time with this resin. Have a blessed day Ms. Sherry