There are 4 tips and techniques to use alcohol inks in resin. We will teach you step by step in this instruction.
⭐ Beginner
⏳ About 2 days
Additional materials:
-
- Silicone rod
- Shallow mold
Project gallery
Project gallery
How to make
1. Reverse Ink Drop Technique
Step 1: Maintain a distance between each ink drip.
Step 2: Pour the resin soon to avoid the evaporation of alcohol ink.
Step 3: Slowly pour the resin into the center.
Step 4: If any ink marks, rub them to soften the edges with a silicone rod.
2. 3D Resin Flower Technique
Step 1: Mix white pigment and resin together with a ratio of 1:100.
Step 2: Pour the resin into the mold after it reacts and reaches 32℃. (Tips: Here we use let's resin brand, each brand is different)
Step 3: Add a few drops of alcohol ink into the resin.
Step 4: Use the white resin to draw the outline of the flowers. (Tips: Make sure the white line is as fine as possible in case of sinking)
3. Cloud Technique
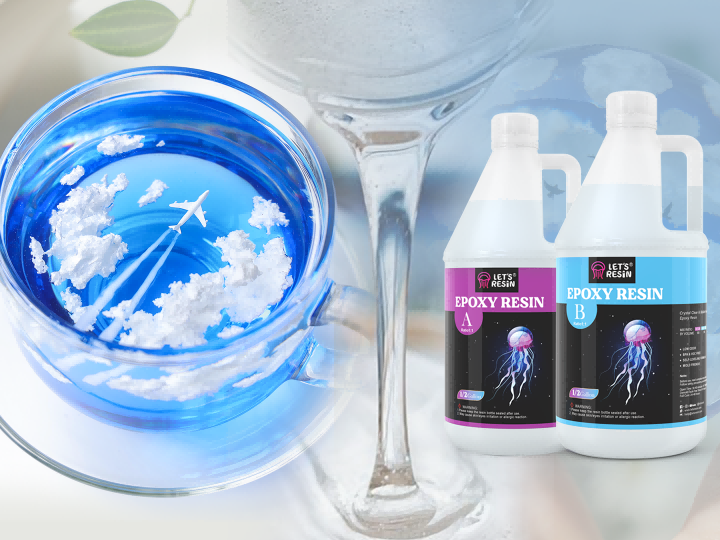
Step 1: Add 30~50 drops of white alcohol inks in 1 oz of clear resin and mix evenly.
Step 2: Pour the resin into the mold but not overfill it.
Step 3: Control the amount of white resin by pinching the cup and pour it out continuously.
Step 4: Use the silicone rod or toothpick to make some random swirls.
4. Resin Petri Technique
① Method #01:
Step 1: Pour the resin into the mold but do not overfill it.
Step 2: Drop several drops of colored alcohol inks into the resin.
Step 3: Drop the white alcohol ink on top of the colored alcohol ink. (The amount of white alcohol ink used is twice that of the colored alcohol ink used)
Step 4: Repeat step 2 & step 3 several times as per the depth of the mold. (The more alcohol ink is added, the deeper it sinks)
Step 5: De-mold the item after 24 hours.
② Method #02:
All the previous steps are the same as method #01.
In the last step, wait for 10~15 min, then use the silicone rod to make some swirls.
③ Method #03:
All the previous steps are the same as method #02.
In the last step, add a small amount of resin. (The resin will help the ink sink deeper and also create a silk effect)


