


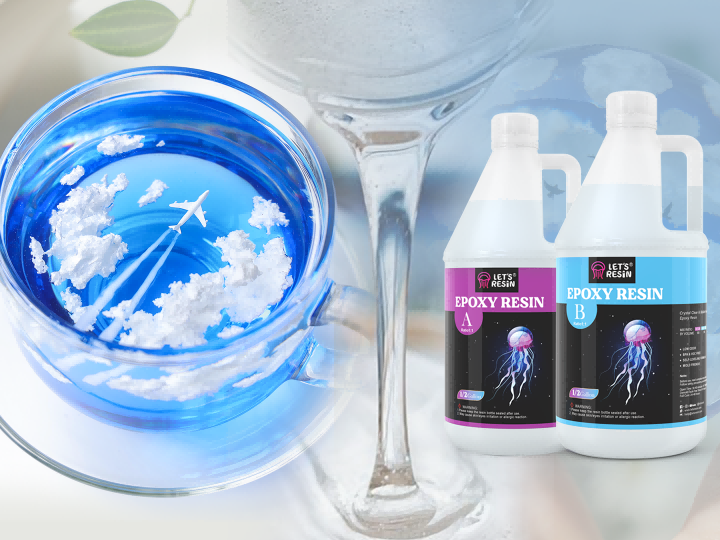
The evening sky with stars and clouds brings such a peaceful feeling. Let's capture that vibe in the resin project. All you need is some cotton, which you can find almost anywhere. Let's get started!
⭐ Beginner
⏳ About 1 day
Additional materials:
-
- Medical Cotton
- Wooden Slats
- A Small Model Airplane
How to make
Step 1
Mixing the resin 1:1 by volume. 4oz is enough for us. Recommend to use our electric mixer to well mix resin. It's gonna be convenient and fast. Once everything's mixed up nicely, just add a drop of ocean white pigment into it. Only need a tiny bit, like the size of a peanut grain. We're gonna use it to set the base color of the project.
Step 2
Add double-sided tape to the wooden slats, which helps secure the mold. Then, assemble the wood frame and place the mold into the wooden frame, adjust its position, and press the mold's edges onto the double-sided tape on the wooden frame. Use your fingers to firmly press and secure it in place. Pour the resin that we mixed.
Step 3
After about 8 hours, ready for the second layer of the effect. Mix the resin 1:1 by volume. Then, mix clear solid color resin dye with some sapphire blue and sky blue. Almost 3oz of each color. Add the colorant slowly and mix until it's nearly the desired shade.
Step 4
Glitter in diamond laser silver is very gorgeous and sparkles with a rainbow color-changing effect. It's incredibly bright and stunning. Use a wooden stick to take a small amount and mix it into the resin. It will look like twinkling stars in the night sky.
Step 5
Pour the saphirre blue resin into one side of the mold, then pour the sky blue resin into the other side so they kinda mix together where they meet.
Step 6
We need to fluff up the cotton and tear it into sections. This helps the cotton blend with the resin and shape it better. Make them mix with the ocean white pigment and a small amount of epoxy resin. Next, you can use tweezers to take out the cotton and shape it however you like.
Step 7
Once it's shaped, place the cloud onto the mold and let it cure. You can also place cotton balls along the sides of the mold. If we pour resin directly, tiny holes on the surface cause a lot of bubbles. So soak the clouds in epoxy resin and give them a gentle shake after waiting 12 hours.
Step 8
Then, place the resin-coated cloud into the mold, scrape off any excess resin on the surface, and waiting for curing. If you notice any air bubbles during the curing process, you can use sharp tweezers to poke them. After about 10 minutes of resting, transfer the clouds to a clean mold to finish drying.
Step 9
24 hours later, all the clouds were fully cured. Arrange the clouds as you like. Apply UV resin on the back edge of the cloud, place the cloud on it, and use a UV flashlight to dry it. Once it's set, start to pour on the first layer of clear epoxy resin with about 4oz. After the resin is cured, we place the clouds and airplane and use UV resin to fix them.
Step 10
Pour the second layer of clear epoxy resin with 8oz again. After waiting for 8 hours for it to cure, we'll pour on the third layer of clear epoxy resin with 8oz again. Repeat the same step until you pour the fourth layer. Remember to keep the proportion of resin consistent each time.
After letting it set for 12 hours, it's completely cured. Take it out of the mold! Do you see the shiny glitter inside? It gives the impression that the stars are glowing at you, doesn't it?

1 comment
Absolutely love this beautiful project. The process instructions were excellent.