Today, we'll make a coaster using office & school supplies around us, such as crayons, pencils, paper clips and so on. You can try more!
⭐ Beginner
⏳ About 24 hours
Additional materials:
-
- Crayons
- Pencils
- Paper Clips
- Smile Binder Clips
- Thumbtacks
- Paint Tubes
- Text Stickers
How to make
Step 1
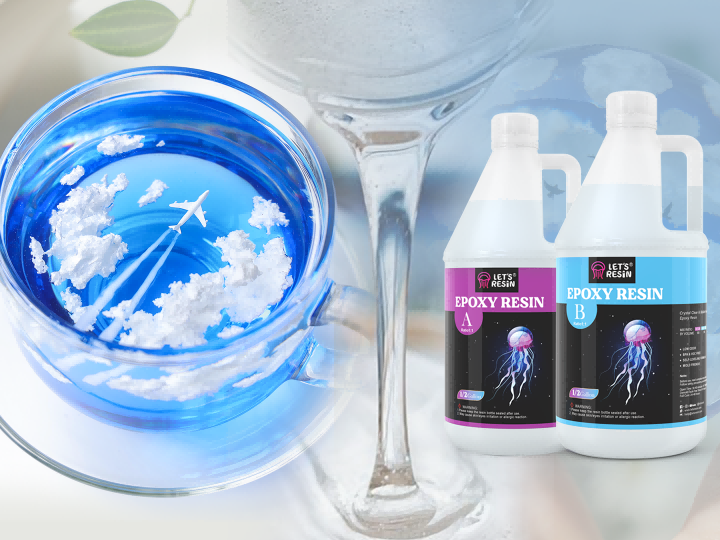
Pour a layer of deep pour epoxy resin into the bottom of the mold, about 0.118 inches thick.
Step 2
Once the resin has dried, arrange your materials in the mold. Note: 1. If you're using wooden materials like pencils, it's important to seal them with UV resin first to prevent air bubbles. Because there are many holes in the surface of wood. 2. Arrange all materials in place and secure them with UV resin in advance. It will avoid displacement during pouring.
Step 3
Pour the epoxy resin into the mold, ensuring it covers all the materials. Don't fill it completely, as you'll need to add another layer after applying text. It is recommended to use deep pour resin because casting resin tends to generate heat, which can cause crayons to melt. If deep pour resin is not available, casting resin should be applied in 3 to 4 layers.
Step 4
Allow the resin to dry for 48 hours before adding text and decorations. When adding text, try to place it in the center for a more balanced look.
Step 5
After adding text and decorations, pour another layer of resin to seal the coaster. Pour slowly to prevent overflow.
Congratulations! Your custom molded coaster is complete now. Enjoy your unique creation!
With these steps, you can create personalized coasters to use yourself or give as gifts to your friends and family. Get creative and have fun with different materials and designs!