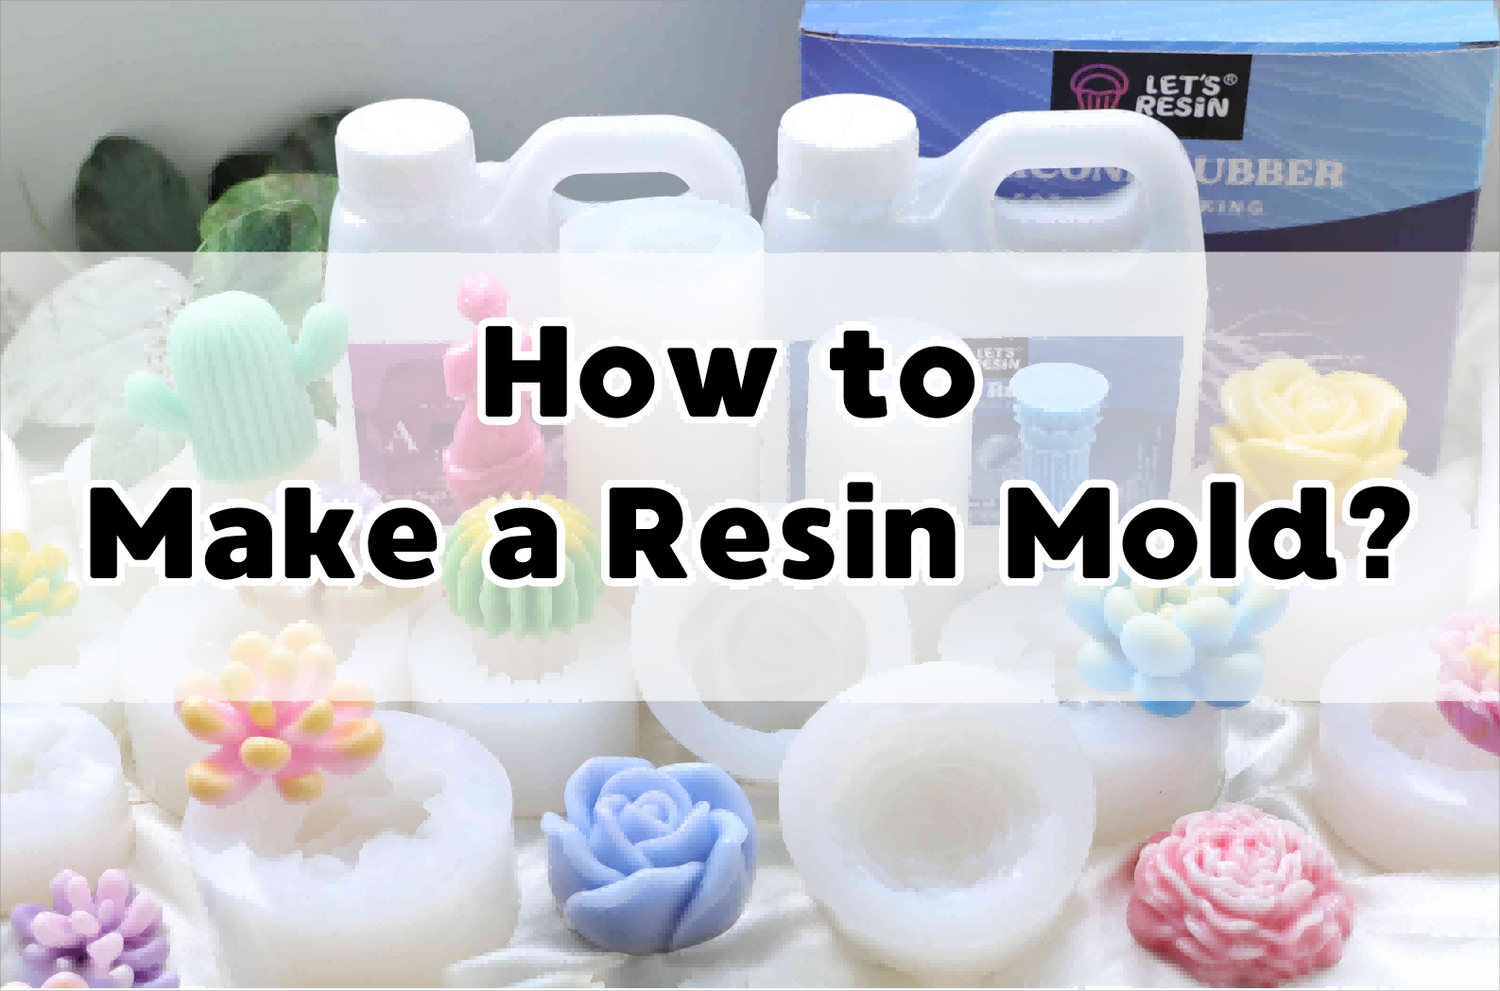

Hi guys! We want to share with you the operating instructions for regular epoxy resin. And we are sharing the amount of resin issues and mixing method that beginners often encounter in this blog.
⭐ Beginner
Additional materials:
-
- Alcohol
- Mask
- Heat gun
Video Tutorial
- ①Measuring
- ②Mixing
- ③ Defoaming
Amount of the resin
(Timeline: 1:00-1:19)
Mix the resin according to the amount indicated on the mold.
If there is no amount marked on the mold, we can pour the water into the mold and then transfer it to the measuring cup to get the corresponding required volume.Then the resin can be adjusted within a reasonable range to avoid waste.
(Timeline: 1:20-1:49)
Although the maximum pouring amount of our 1:1 epoxy resin is 400ml, we still recommend mixing resin no more than 8oz at one time. If the amount of resin is too much, the curing reaction will be very fast and may occur flash cure. If you mix more than 8oz, it is recommended to store the resin in two cups, which can delay the reaction time of the resin.
(Timeline: 1:50-2:11)
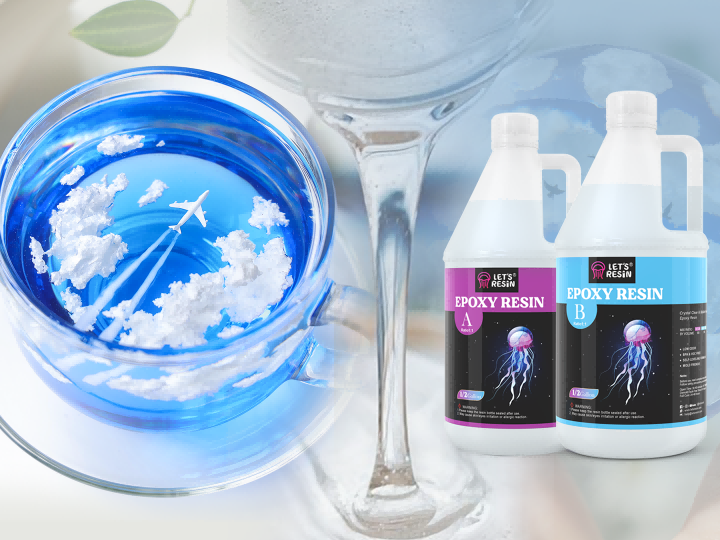
We use the 1:1 regular epoxy resin. There is a safe design cap on the resin bottle with detailed instructions on how to open it.
Push down the safe design cap and then turn it counterclockwise, then you can open it easily. There is a stopper inside the cap which is used to prevent the resin from leaking. Just pull it out to use.
(Timeline: 2:12-2:33)
Mix the resin 1:1 by volume. If the mixng ratio of the mixture is not correct, problems such as the resin not curing and resin bending may occur.
Due to the different densities of the part A and part B resin, it's normal to see transparent silky swirls in the resin when just pouring them out.
Part Ⅰ - Mixing mothod (Timeline: 2:34-3:31)
Method ① - Manually operated
We can use a stick to stir the resin in the same direction at a constant speed.
During the mixing process, please pay attention to every corner of the cup, such as the edges and the bottom of the cup. The swirls will be obvious at first, but it will slowly disappear as the mixing process continues.
The mixing time is about 1-2 minutes. When the swirls disappear, the resin is well mixed.
Use a tissue to wipe off the resin residue on the stirring stick, and it can continue to be used.
Method ② - With mixing tools
An electric resin mixer can complete stirring in about 1 minute, and there will be fewer bubbles which is more efficient than a stirring stick.
The stirring paddle can also be wiped clean with the tissue.
Part Ⅱ - Wrong mixing method (Timeline: 3:32-3:57)
1.The stirring range is too small and the resin on the walls and bottom of the cup are not stirred, which will cause the resin not be fully cured.
2.There will be a lot of bubbles if the direction of the stirring is not consistent.
3.Stirring too fast will cause a lot of large bubbles and it will be difficult to defoam.
Part Ⅰ - Defoaming method (Timeline: 3:58-4:26)
The mixed resin will automatically defoam after standing for 2 minutes. You can use the following two methods if there are still some bubbles on the surface.
Method ①
Pick away the bubbles with the stirring stick.
Method ②
Keep a distance of 5-6cm between the lighter and the resin, and then quickly switch the lighter on to defoam.
Part Ⅱ - How to deal with the resin become thick in winter (Timeline: 4:27-4:50)
The resin will become thicker in winter.
Give the resin a warm water bath at about 50 degrees Celsius for 1-2 minutes.
The resin is ready to use when it becomes a fluid liquid as usual.