


Posted by Koish _Gallery
“As a mixed media artist, I often feel the need to create new and original pieces. The Heart collection was inspired for Valentine's day and by the need to find unique 3D designs that would be multi-functional and can be used for keychains, as Pendants or in other individual projects. I carefully hand crafted what was in my mind for the design of my pieces and since I had a theme in mind, it was easier to come up with the different designs that would be suitable for any occasion that would involve loving expressions.”
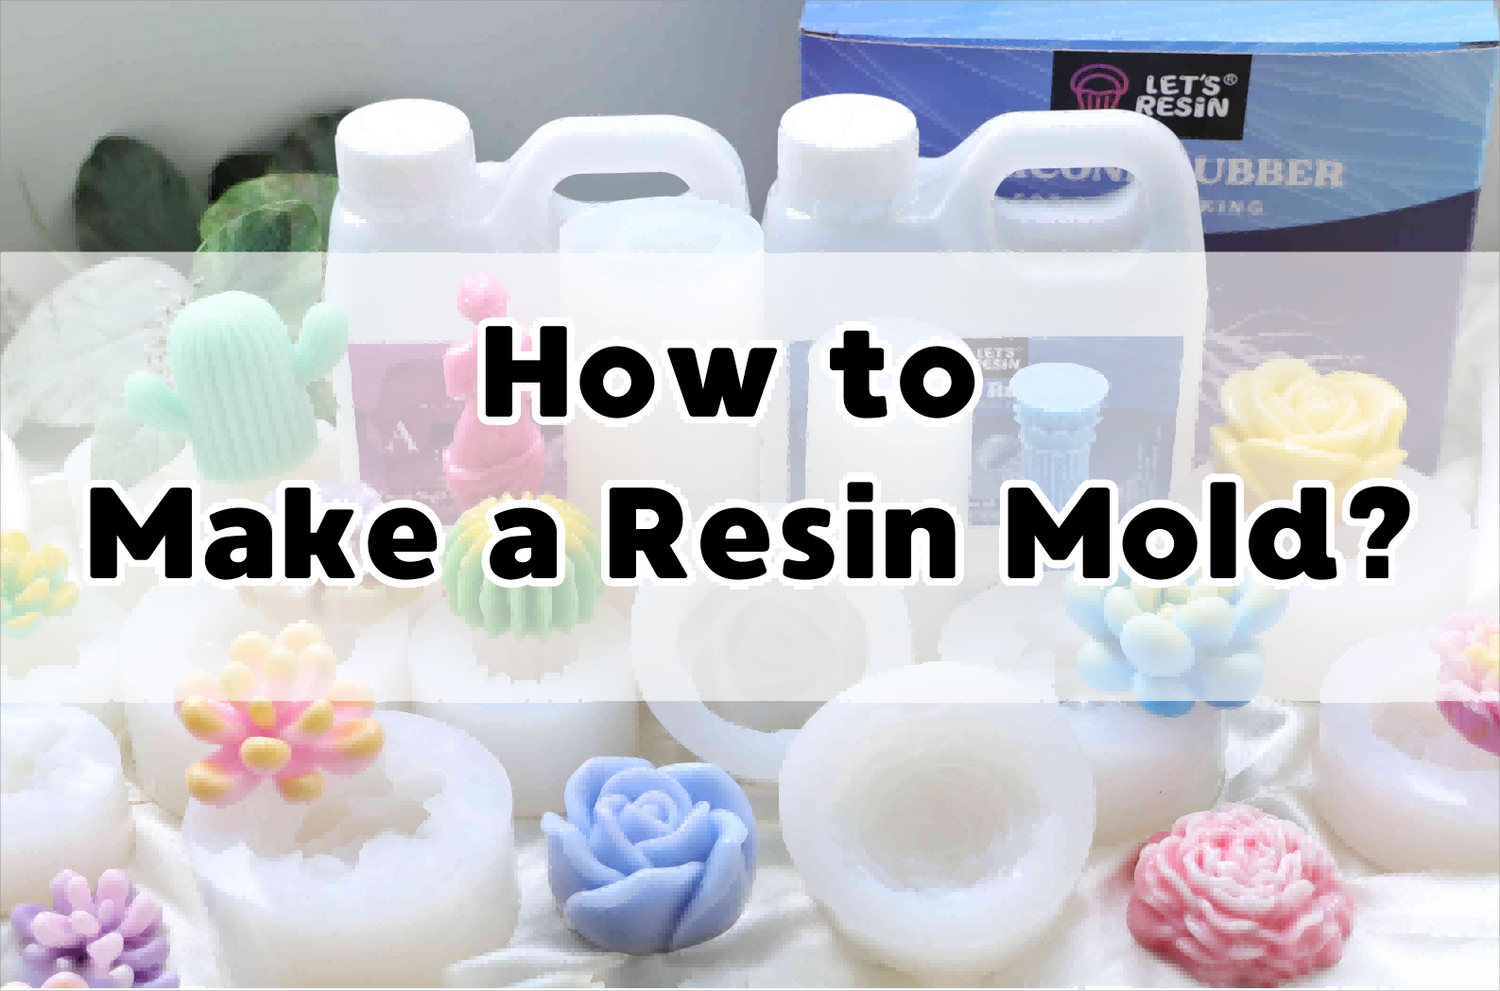
6 easiest steps ever to help everyone get started to making their silicone resin molds at home and enjoy the advantage of getting their unequaled unique molds shape, with only the high quality yet affordable silicone rubber from Let's Resin, the best silicone mold making kit to check out this week!!!!
Content Preview:
1. Tips That You Need To Know Before Process
- When you first start making molds, remember to have all the tools needed ready and set up your work area properly and clean.
- Hair and particles love sitting on silicone so always clean up your surfaces prior to starting.
- Use clean hands and make sure the surface you are working on is flat and straight so the silicone is evenly spread all around.
- Choose the right design. For shiny outcome of the surface, your original design must have a shiny surface, you can have the surface of your design varnished or covered with a layer of Resin and fully cured to touch.
- Choose the right housing for your design by considering the enough room on the sides and for the depth of the final mold. This way you do not waste silicone to fill up unnecessary gap and have enough space so the mold will not tear due to thin silicone layer. The housing can be of metal, hard plastic or cardboard nature.
- When mixing Silicone, use the 1:1 ratio by weight for best results.
- When mixing, stir the silicone for at least 3 minutes depending on amount to completely mix and reduce bubbles.
- Make sure to wait for the mold to cure, at least 12 hours before you use resin.
- Touch the silicone, it is ok if it feels a little sticky.
- Never use direct heat on the molds, torching it and to clean use tape to clean the surface and dish soap and water to gently clean the inside if necessary.
2. List of Supplies:
- Master piece (to Mold), This piece must be of non-Silicone nature, if you use Clay, make sure it is Sulfur free. You can use plastic, china, ceramic, glass and and most metal items to mold
- Resin Craft Tape and Glue Gun
- Housing (you can use Cookie cutters depending on the size of your piece)
- Liquid silicone
- Plastic Cup and stick
- Electronic Scale to measure weight of silicone
3. Step-by-step Silicone Molds Making Tutorial:
Step 1. Take the proper housing size, tape the back with the Resin tape and set it on the flat surface you will be working on. Carefully use Glue Gun to stick and cover the edges of the housing to your tape, this way you ensure the silicone won’t leak out of the housing.
Step 2. Place your design properly inside the housing, with the face up, sticking the back to the resin tape and leaving enough room on the sides for silicone pour. Now you have done the first major part of mold prep.
Step 3. Now you are ready to mix the 1:1 ratio Let’s Resin Silicone. Carefully measure out part A and B by weight and add them together, mixing slowly for at least 3 to 5 minutes, scraping the sides using a wooden stick. This way you ensure better mixing and less bubbles forming inside. When you are done mixing, you are ready to pour.
Step 4. Slowly start pouring your silicone into the mold, try to pour evenly and thinly holding your cup with a little distance from the mold, moving your hand around the inside of the housing, gently covering first the empty space.
Step 6. To unmold, pick up the mold, peel off the glue gun and tape from the back side. Gently push the silicone mold out of the housing. Your Mold is now ready to use. You can use a blade or scissors to cut any excessive silicone covering the back of your molded piece to easily unmold it.
Step 6. To unmold, pick up the mold, peel off the glue gun and tape from the back side. Gently push the silicon mold out of the housing. Your Mold is now ready to use. You can use a blade or scissors to cut any excessive silicon covering the back of your molded piece to easily unmold it.
Products suggested in this blog:
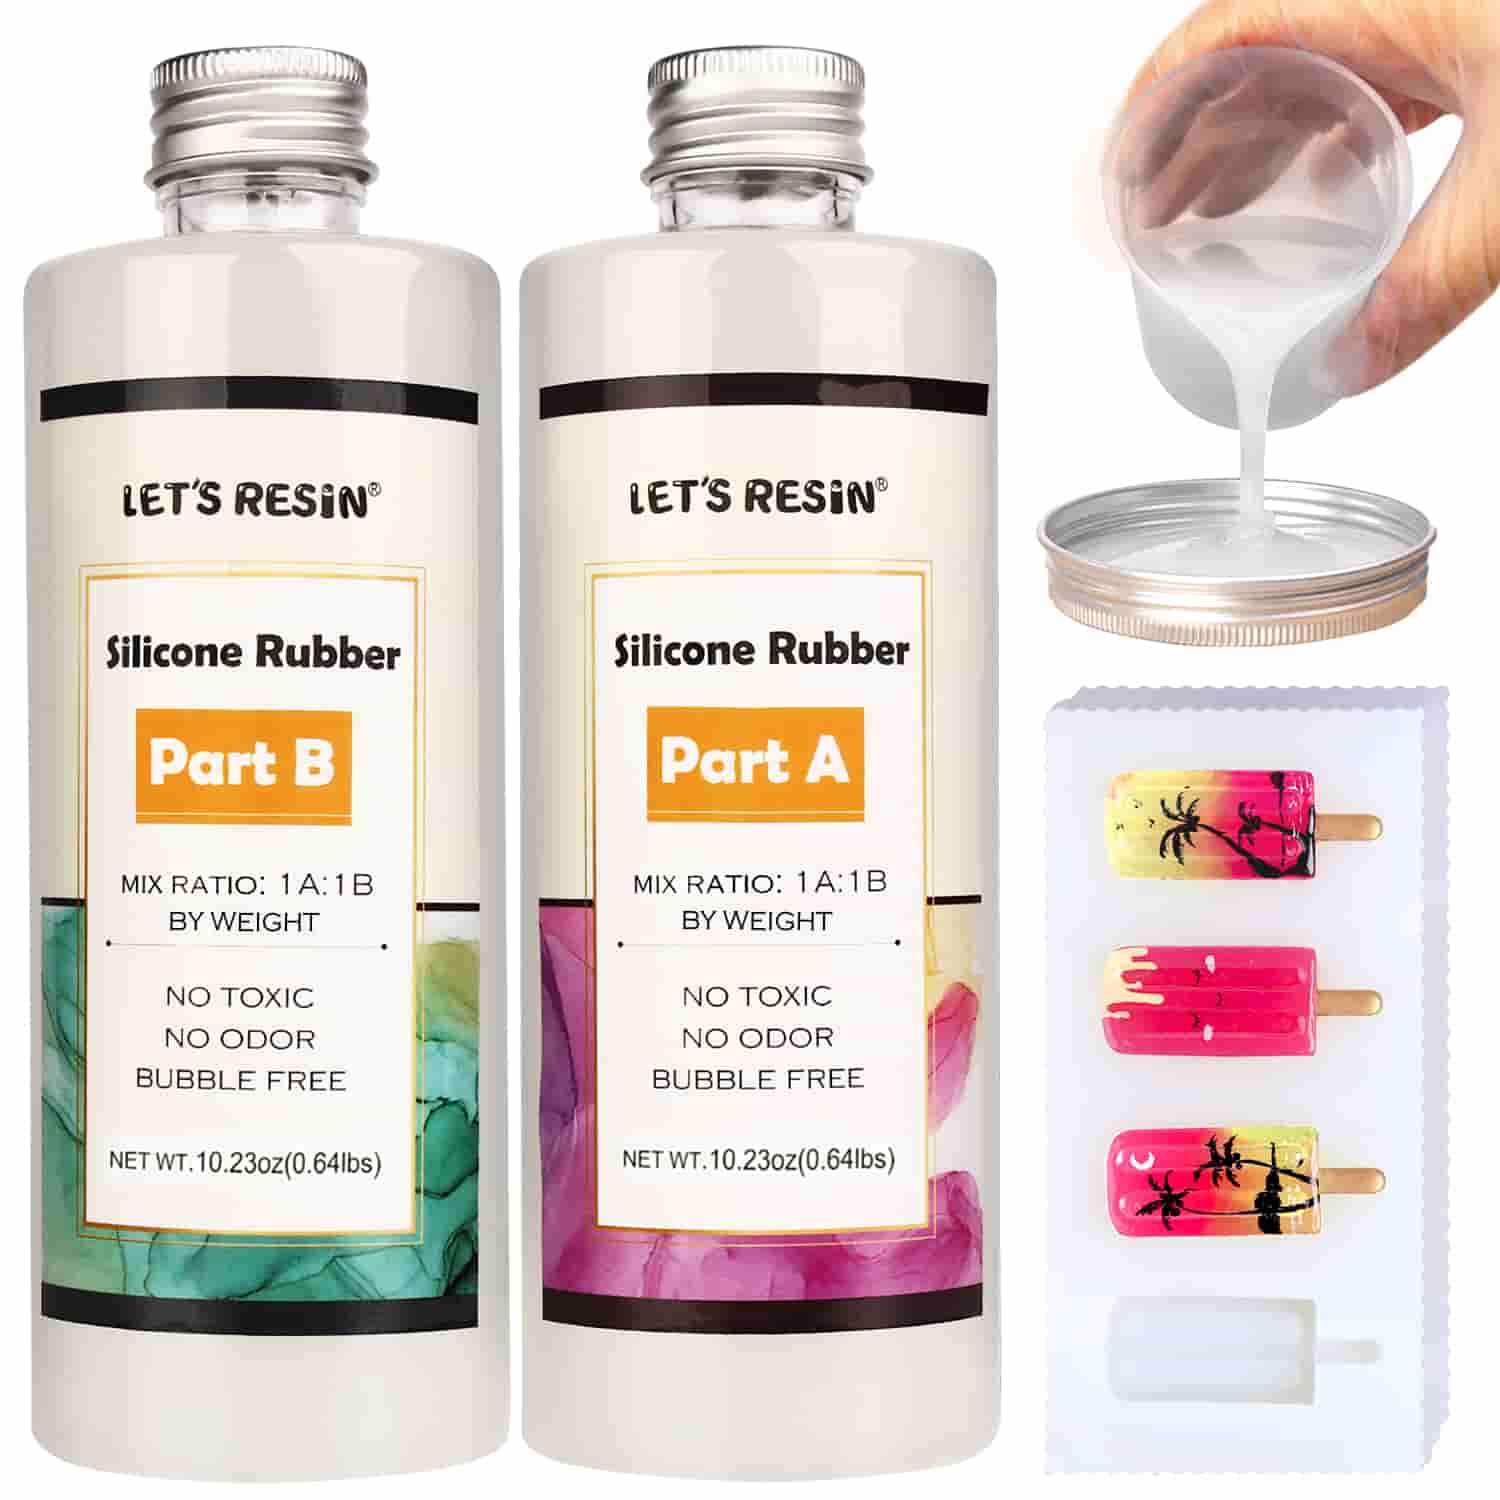
15A Silicone Rubber Mold Making Kit - N.W 20.46oz
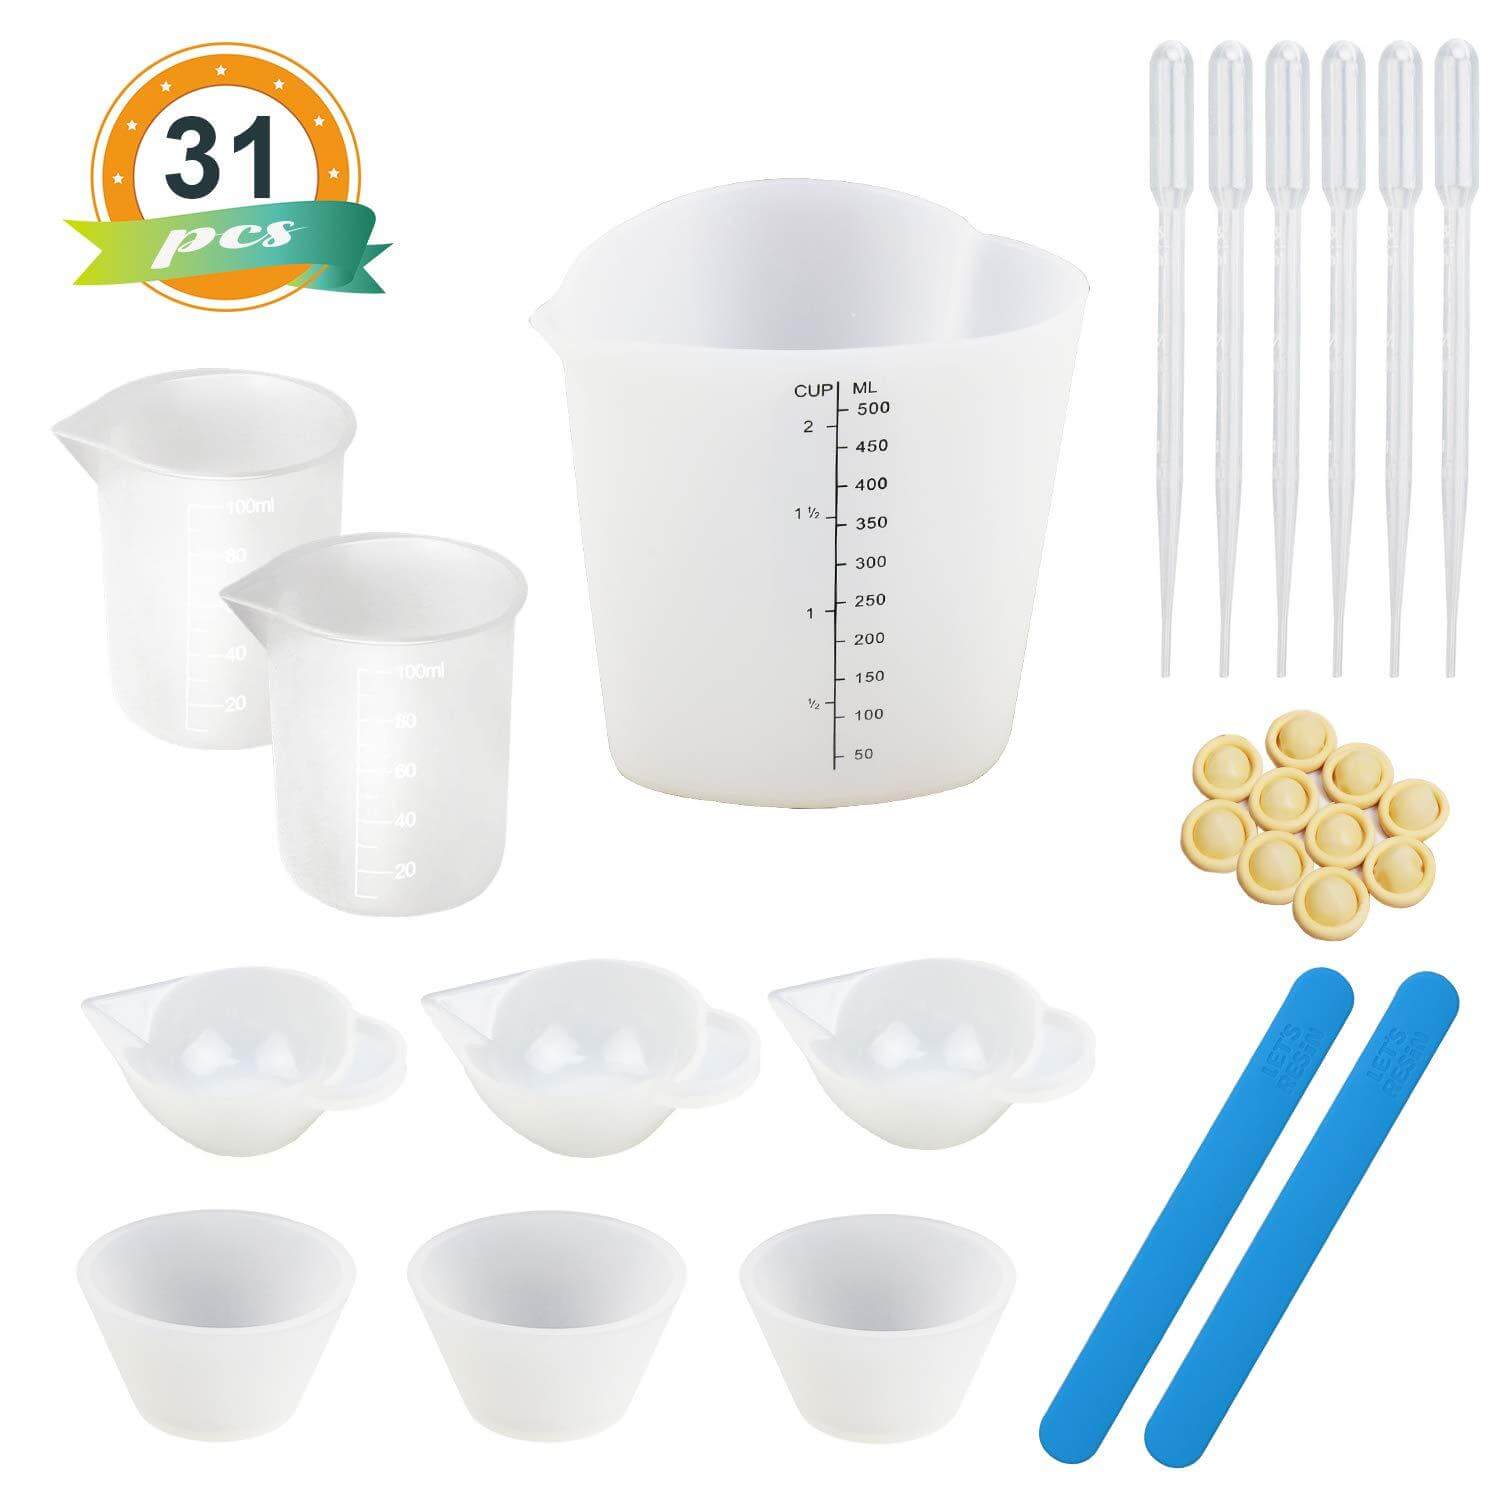
Silicone Measuring Cups Tool Set
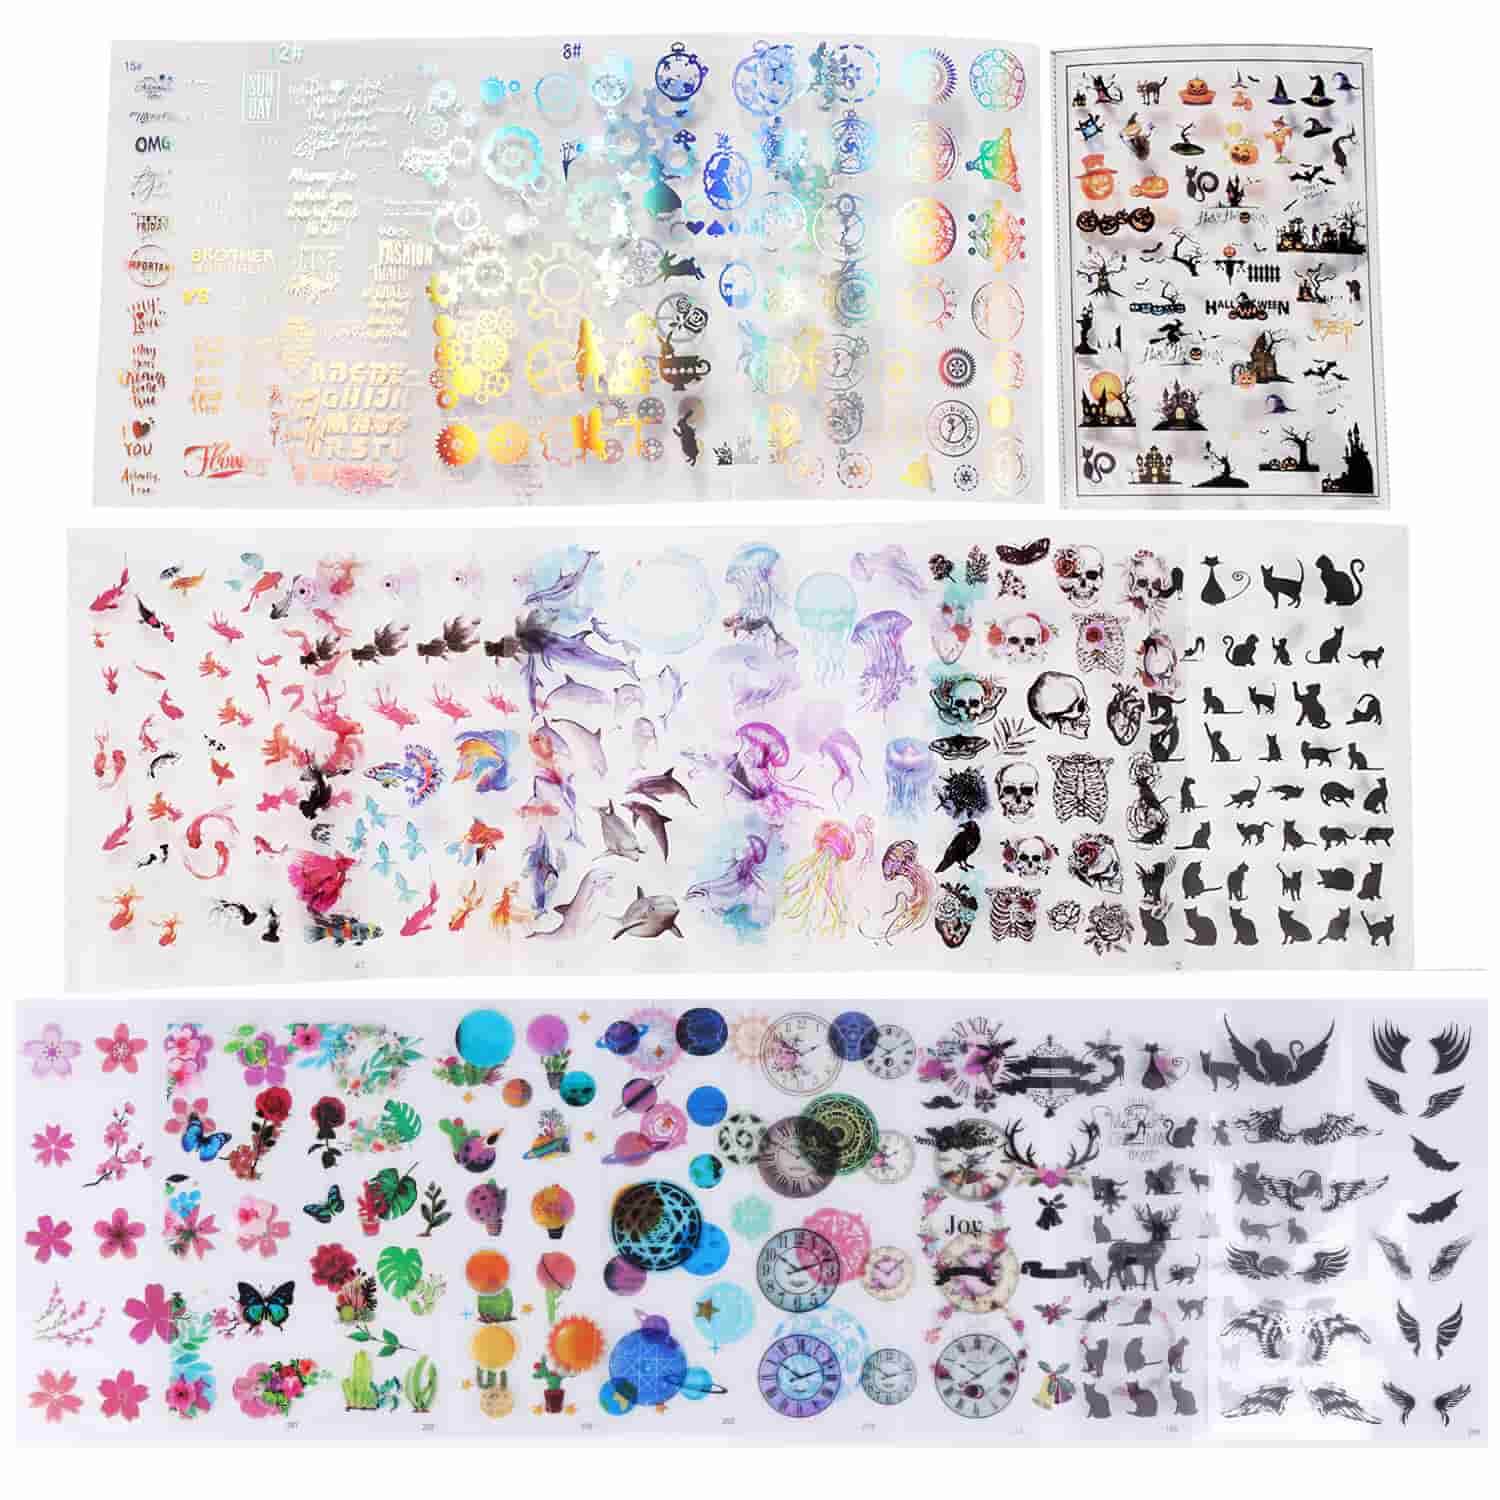
Transparent Decorate Film & Stickers - 25 Sheets


3 comments
I made a mold of some objects I sealed with polyurethane, and the mold didn’t cure in the parts contacting the objects. I’m guessing the polyurethane inhibited the silicone. Do you know what I could use to seal objects, that wouldn’t inhibit the silicone curing?
Muchas gracias. ?Como puedo iniciar sesion?
I love the things that are made with resin 😍