


Three sides help limit sideways and rearward spread, guiding air toward the exhaust intake while you work.
AirCube Multi-Function Purification Workbench
- Regular price
-
$289.99 USD - Regular price
-
$362.99 USD - Sale price
-
$289.99 USD
{"schemaVersion":2,"preset":"brand","presets":[{"id":"brand","name":"日常品牌","background":"#FBDEF6","ink":"#752060","accent":"#B80C98","heading":"#752060","media":"none","icon":"gift","imageUrl":"","position":"leading","size":24,"imageFit":"contain"},{"id":"black-friday","name":"黑色星期五","background":"#242127","ink":"#F3D792","accent":"#876521","heading":"#725417","media":"none","icon":"gift","imageUrl":"","position":"leading","size":24,"imageFit":"contain"},{"id":"christmas","name":"圣诞节","background":"#EDF4EF","ink":"#245B46","accent":"#245B46","heading":"#245B46","media":"none","icon":"gift","imageUrl":"","position":"leading","size":24,"imageFit":"contain"},{"id":"style-mwahiord-79ycd4","name":"BFCM 外观","background":"#FBDEF6","ink":"#752060","accent":"#B80C98","heading":"#752060","media":"none","icon":"gift","imageUrl":"","position":"leading","size":24,"imageFit":"contain"}],"style":{"container":"soft","fontSize":15,"fontWeight":650,"paddingX":12,"paddingY":10,"radius":6,"gap":8,"checkboxSize":18,"drawerWidth":480},"assignments":{"group:campaign-mw4rms57-apddz7":"black-friday"},"schedules":{},"countdowns":{"offer:gid:\/\/shopify\/DiscountCodeNode\/1501496312042":{"endsAt":"2026-11-12T23:59:00-08:00","startsAt":"","displayDays":7,"repeatDays":7}},"guidance":{"campaign-mw4rms57-apddz7":{"enabled":false,"basis":"original"}},"giftCounts":{},"tiers":{"gid:\/\/shopify\/DiscountCodeNode\/1538890793194":{"kind":"none","threshold":null,"currency":"","condition":"","benefit":"20% OFF"},"gid:\/\/shopify\/DiscountCodeNode\/1537012302058":{"kind":"none","threshold":null,"currency":"","condition":"","benefit":"15% OFF"},"gid:\/\/shopify\/DiscountCodeNode\/1538290385130":{"kind":"none","threshold":null,"currency":"","condition":"","benefit":"20% OFF"},"gid:\/\/shopify\/DiscountCodeNode\/1538900001002":{"kind":"none","threshold":null,"currency":"","condition":"","benefit":"30% OFF"},"gid:\/\/shopify\/DiscountCodeNode\/1465637339370":{"kind":"none","threshold":null,"currency":"","condition":"","benefit":"10% OFF"},"gid:\/\/shopify\/DiscountCodeNode\/1536637501674":{"kind":"none","threshold":null,"currency":"","condition":"","benefit":"20% OFF"},"gid:\/\/shopify\/DiscountCodeNode\/1501496312042":{"kind":"none","threshold":null,"currency":"","condition":"","benefit":"15% OFF"},"gid:\/\/shopify\/DiscountCodeNode\/1539474850026":{"kind":"none","threshold":null,"currency":"","condition":"","benefit":"15% OFF"},"gid:\/\/shopify\/DiscountCodeNode\/1543289438442":{"kind":"none","threshold":null,"currency":"","condition":"","benefit":"$20 OFF Each"},"gid:\/\/shopify\/DiscountCodeNode\/1543289602282":{"kind":"none","threshold":null,"currency":"","condition":"","benefit":"$8 OFF Each"},"gid:\/\/shopify\/DiscountCodeNode\/1543289635050":{"kind":"none","threshold":null,"currency":"","condition":"","benefit":"$5 OFF Each"},"gid:\/\/shopify\/DiscountCodeNode\/1543289667818":{"kind":"none","threshold":null,"currency":"","condition":"","benefit":"$28 OFF Each"},"gid:\/\/shopify\/DiscountCodeNode\/1543289766122":{"kind":"none","threshold":null,"currency":"","condition":"","benefit":"$7 OFF Each"},"gid:\/\/shopify\/DiscountCodeNode\/1543289831658":{"kind":"none","threshold":null,"currency":"","condition":"","benefit":"$6 OFF Each"},"gid:\/\/shopify\/DiscountCodeNode\/1543289700586":{"kind":"none","threshold":null,"currency":"","condition":"","benefit":"$20 OFF Each"},"gid:\/\/shopify\/DiscountAutomaticNode\/1543288848618":{"kind":"subtotal","threshold":180,"currency":"USD","condition":"Spend $180+","benefit":"10% OFF"},"gid:\/\/shopify\/DiscountAutomaticNode\/1543288815850":{"kind":"subtotal","threshold":120,"currency":"USD","condition":"Spend $120+","benefit":"8% OFF"},"gid:\/\/shopify\/DiscountAutomaticNode\/1543288783082":{"kind":"subtotal","threshold":60,"currency":"USD","condition":"Spend $60+","benefit":"6% OFF"}},"updatedAt":"2026-11-18T00:46:27-08:00"}
[{"id":"campaign-mw4rms57-apddz7","name":"BFCM","title":"Extra 6-10% OFF \u0026 Free gift","details":"","themeName":"Black Friday Sale","supplementalDetails":"How It Works\nAdd your favorite items to your cart.\nOpen your cart to track your progress toward the next reward.\nKeep shopping to unlock a higher discount tier and more free gifts.\nReview your discount and gift details before completing checkout.","members":["gid:\/\/shopify\/DiscountAutomaticNode\/1543288848618","gid:\/\/shopify\/DiscountAutomaticNode\/1543288815850","gid:\/\/shopify\/DiscountAutomaticNode\/1543288783082"],"tierText":{"gid:\/\/shopify\/DiscountAutomaticNode\/1543288783082":"6% OFF","gid:\/\/shopify\/DiscountAutomaticNode\/1543288815850":"8% OFF + 1 Free Gift","gid:\/\/shopify\/DiscountAutomaticNode\/1543288848618":"10% OFF + 2 Free Gifts"}}]
Couldn't load pickup availability
Description
Let the Air Flow, Let Your Mind Focus.
We know that great creation should not be disturbed by odors or environmental distractions. AirCube creates a more comfortable and controlled creative space, allowing each creation to take place in a more stable and reassuring environment. Free from outside interference, you can stay focused and bring every idea to completion.
✨Why Choose Our AirCube Multi-Function Purification Workbench?
- All-in-One Integrated Workstation: This is a crafting workstation designed for creators, integrating air purification, lighting, power supply, and storage into one. No need to switch between different devices or workspaces—everything is seamlessly built into one setup, making your creative process more efficient and smooth.
- High-Efficiency Sealed Air Purification System: The High-Efficiency Sealed Air Purification System features an advanced exhaust and airflow-guiding design that actively channels and removes fumes and volatile gases generated during the creative process. It helps maintain a cleaner and more stable working environment, allowing you to stay fully focused on your work without worrying about air quality.
- No More Odor Spread: Featuring an open-style barrier hood design, it effectively contains odors and volatile substances within the workspace, preventing them from spreading into the surrounding environment. It also helps block external contaminants such as dust and lint, maintaining a cleaner and more stable creative environment.
- A Space That’s Truly Yours: Create a dedicated space that is truly yours, designed to make your creative process more focused and immersive. In this space, allow your attention to fully return to your work and creations. More than just a workspace, it offers a more secure, comfortable, and free way to create.
- One Workspace, Infinite Projects: A single device supports a wide range of creative scenarios, meeting the diverse crafting and making needs of different family members. It is suitable for projects such as wood burning art, stained glass assembly, laser engraving, and circuit board soldering. It allows different types of creative work to be completed efficiently within one unified workspace.
A regular air purifier is just a small desktop device with one simple function: localized air cleaning. It also needs regular filter replacements, which adds up over time.
The AirCube is an all‑in‑one solution designed specifically for creative workspaces. It doesn’t just clean the air – it also gives you a work surface, power outlets, lighting, and multiple storage options. And there’s no filter to replace, so no ongoing costs.
The fundamental difference in how they work:
Air Purifier: It waits until odors have spread throughout the room, then starts recirculating and filtering the indoor air. While it filters, new odors keep coming out at the source. It can never catch up – slow, inefficient, and never fully effective.
AirCube: It pulls odors out directly near the source and exhausts them outside. The smell is removed before it can spread into the room. The air stays fresh. Fast, complete, and truly worry‑free.
Shipping Policy
- Free Shipping Over $30 for US.
- All orders will not be accepted (except the USA), countries outside the USA may not able to place your order temporarily.
- All US orders will be processed within 1-3 days (business days). Typical shipping time is are 2 - 7 business days.
- Please refer to the Shipping Policy for more details.
30 Days Returns & Refunds
- We really hope you like your purchase from LET'S RESIN. And we gladly accept returns within 30 days of receipt for items in new condition.
- Please refer to the Returns & Refunds Policy for more details.
What's in the box
1-Year Warranty
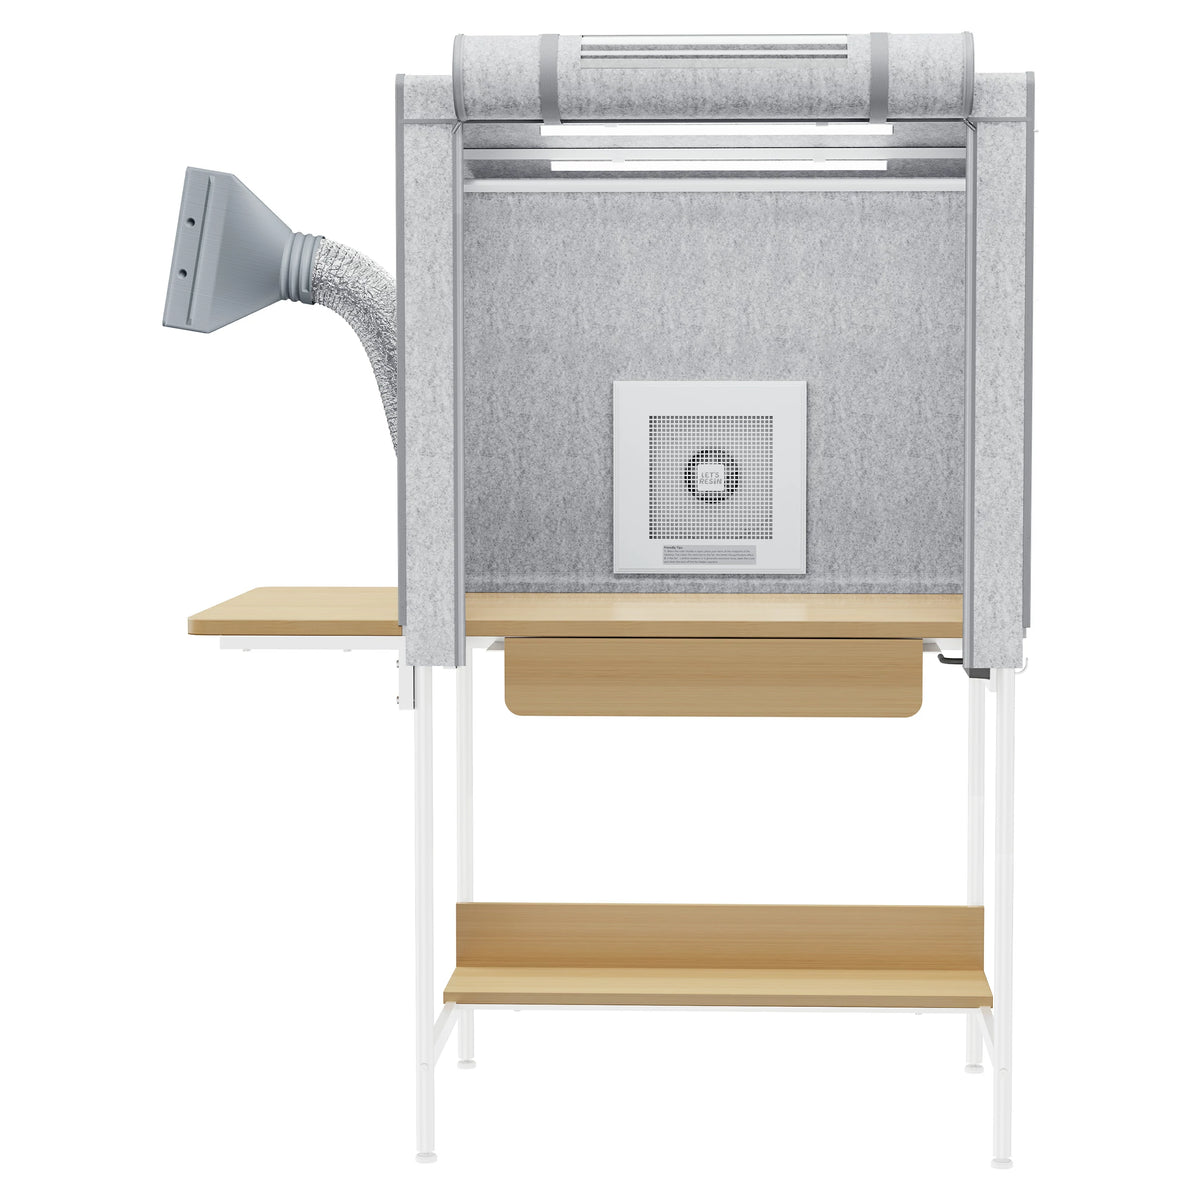

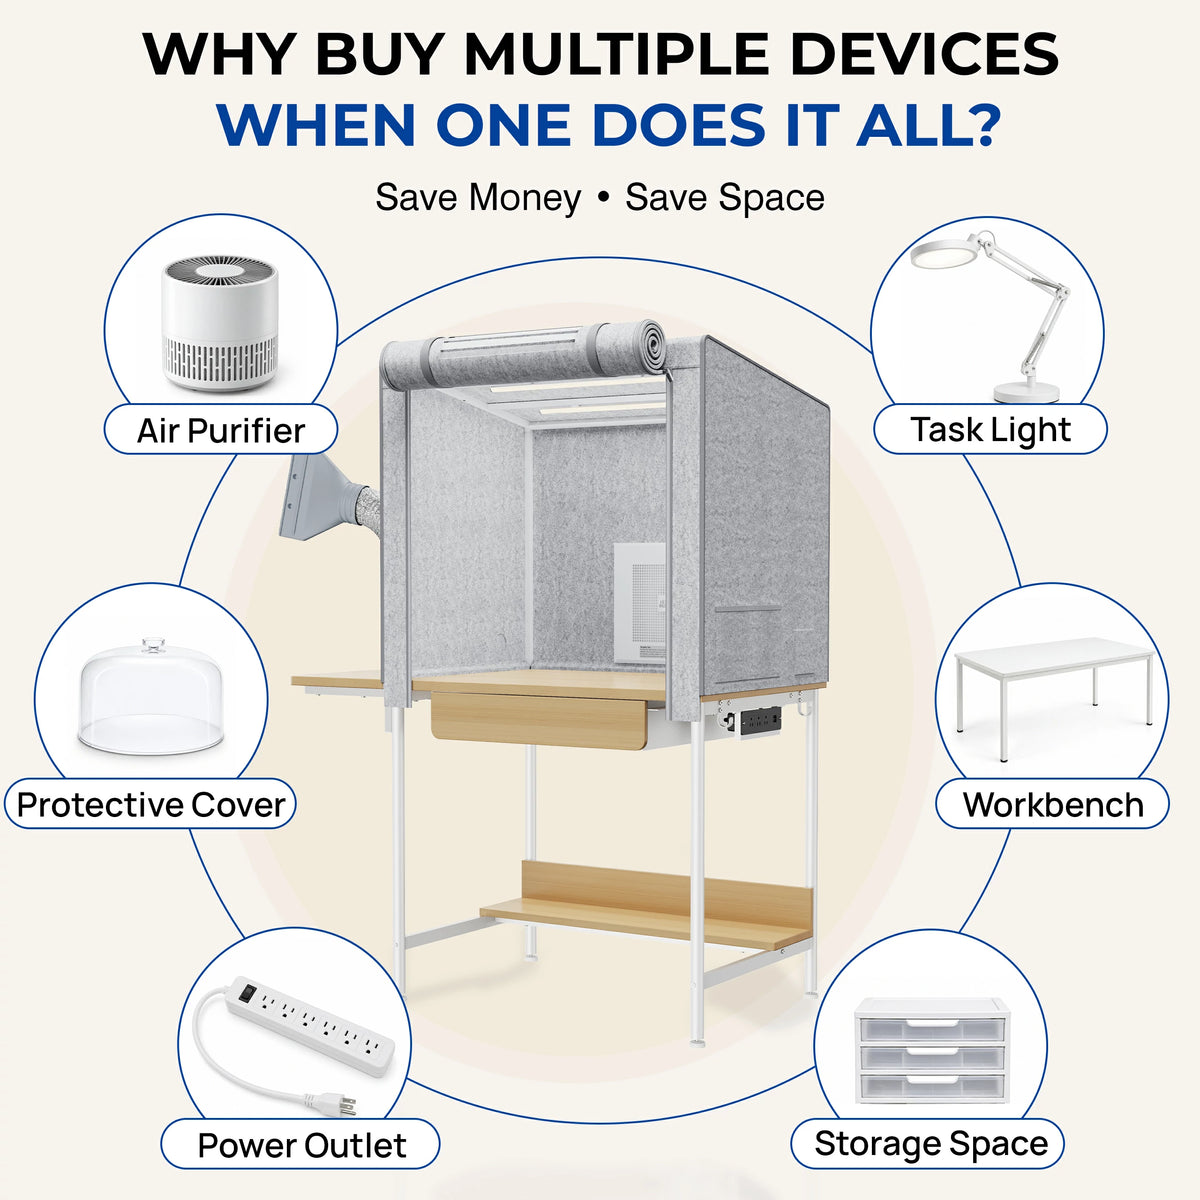
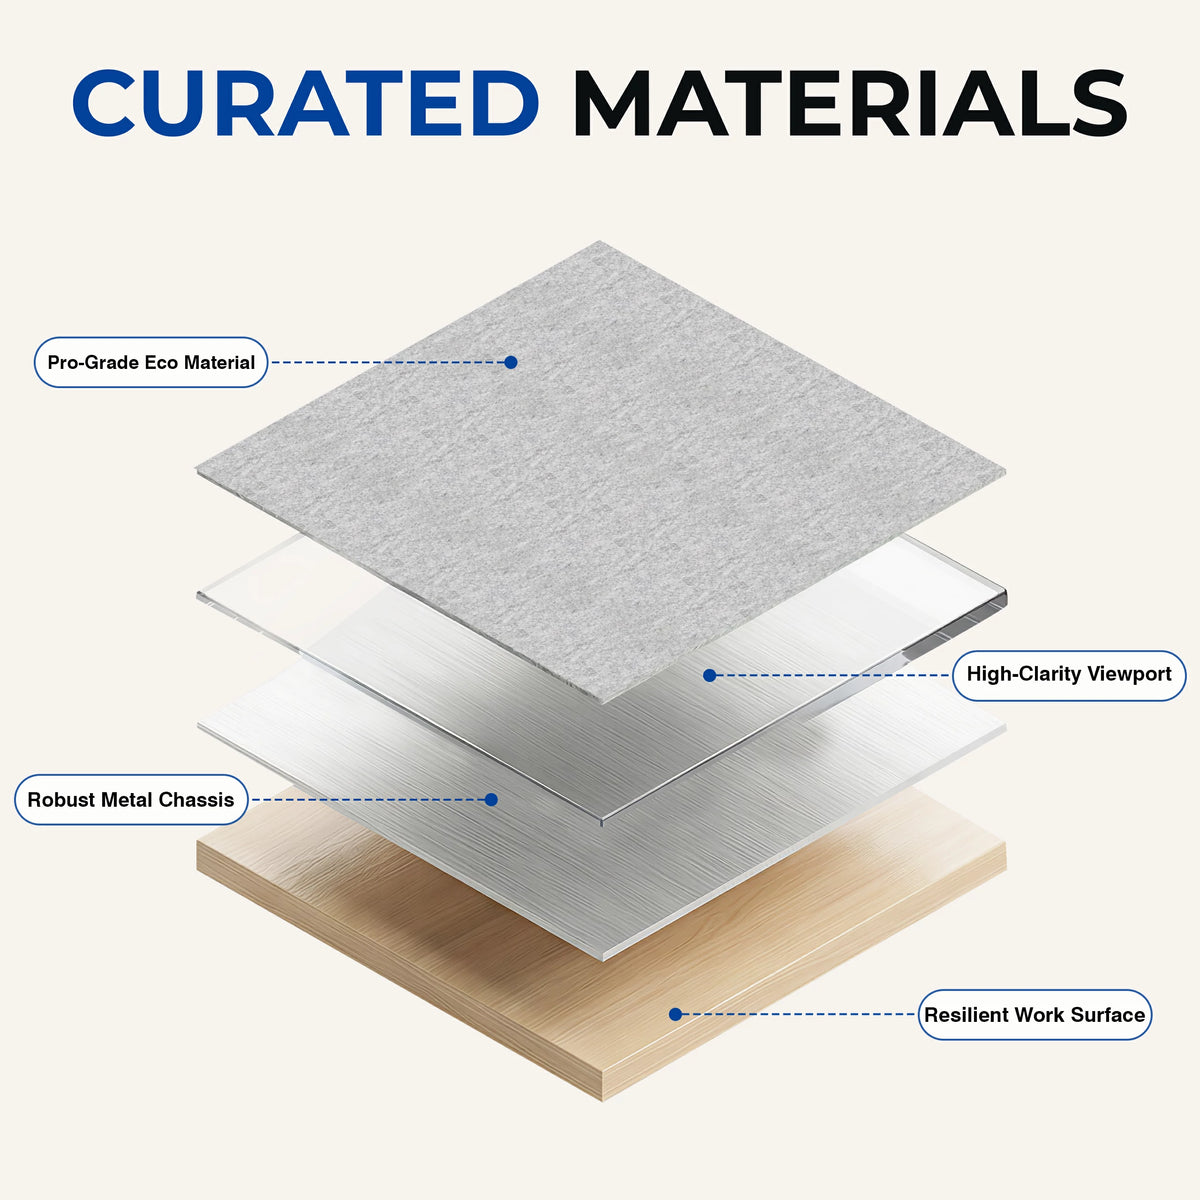

Create Inside. Vent Outside.
AirCube brings lighting, power, and outdoor exhaust into one resin crafting station. The fan draws air near your project through a connected hose to the outdoors.
- Focus on Your Project
- Light the Details
- Vent Fumes Outdoors
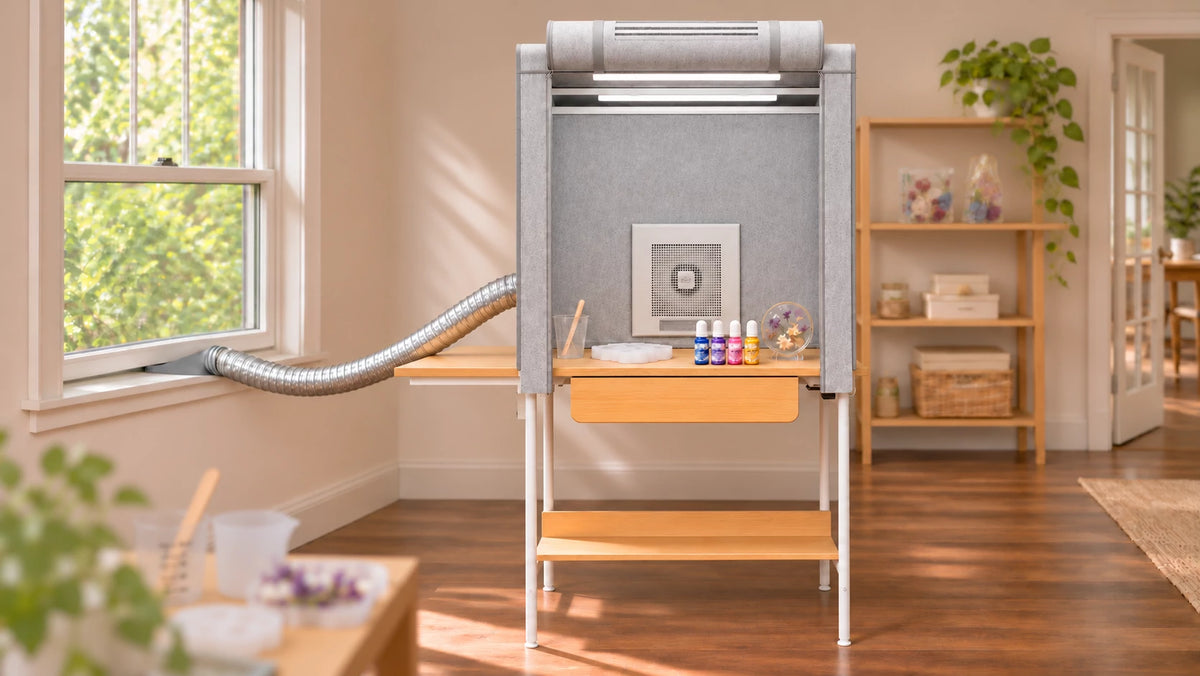
Collect at the Source.
Vent Outdoors.

A powerful, quiet-running fan draws air from around your project into the connected hose.
The hose leads through an outdoor opening, carrying captured air outside instead of back into the room.
How does this compare with a purifier or an open window?
AirCube
Source → Hose → Outdoors
The fan draws air near your project and sends it outdoors through a connected hose.
The advantage
Send craft fumes outdoors and settle into the work you love. Capturing fumes close to your project helps keep the rest of your room fresher.
A Recirculating Purifier
Room → Filter → Room
Room air passes through a filter and returns to the room.
What to consider
Ordinary particle filters cannot effectively remove most gases. Gas and odor treatment requires suitable filter media, which needs maintenance and replacement.
An Open Window
Room air → Window
Natural air movement carries room air through the window.
What to consider
Air movement varies with wind, room layout, and outdoor conditions. An open window alone does not create a dedicated exhaust route from your work area.
Airflow & Measured Results
With the outdoor route connected, adjust AirCube’s airflow for the step you’re working on.
Airflow: up to 5 m³/min
Up to 99% TVOC removal at the measured test position
Measured at a fixed position during testing. Results may vary with project placement, airflow setting, and how you work.
For best capture, position your project about two-thirds of the way from the front edge toward the back of the worktop. Keep the rear exhaust clear.

Settle Into Your Own Craft Space
Give your projects a dedicated place, with lighting, power, and storage close at hand.
Lighting
See the Details Clearly
Two magnetic LED light bars illuminate your work area, with adjustable brightness and color temperature.

Power
Power Within Reach
Built-in outlets and USB ports keep power close to your work, so you can connect your tools right at the workstation.

Storage
Keep Supplies Close
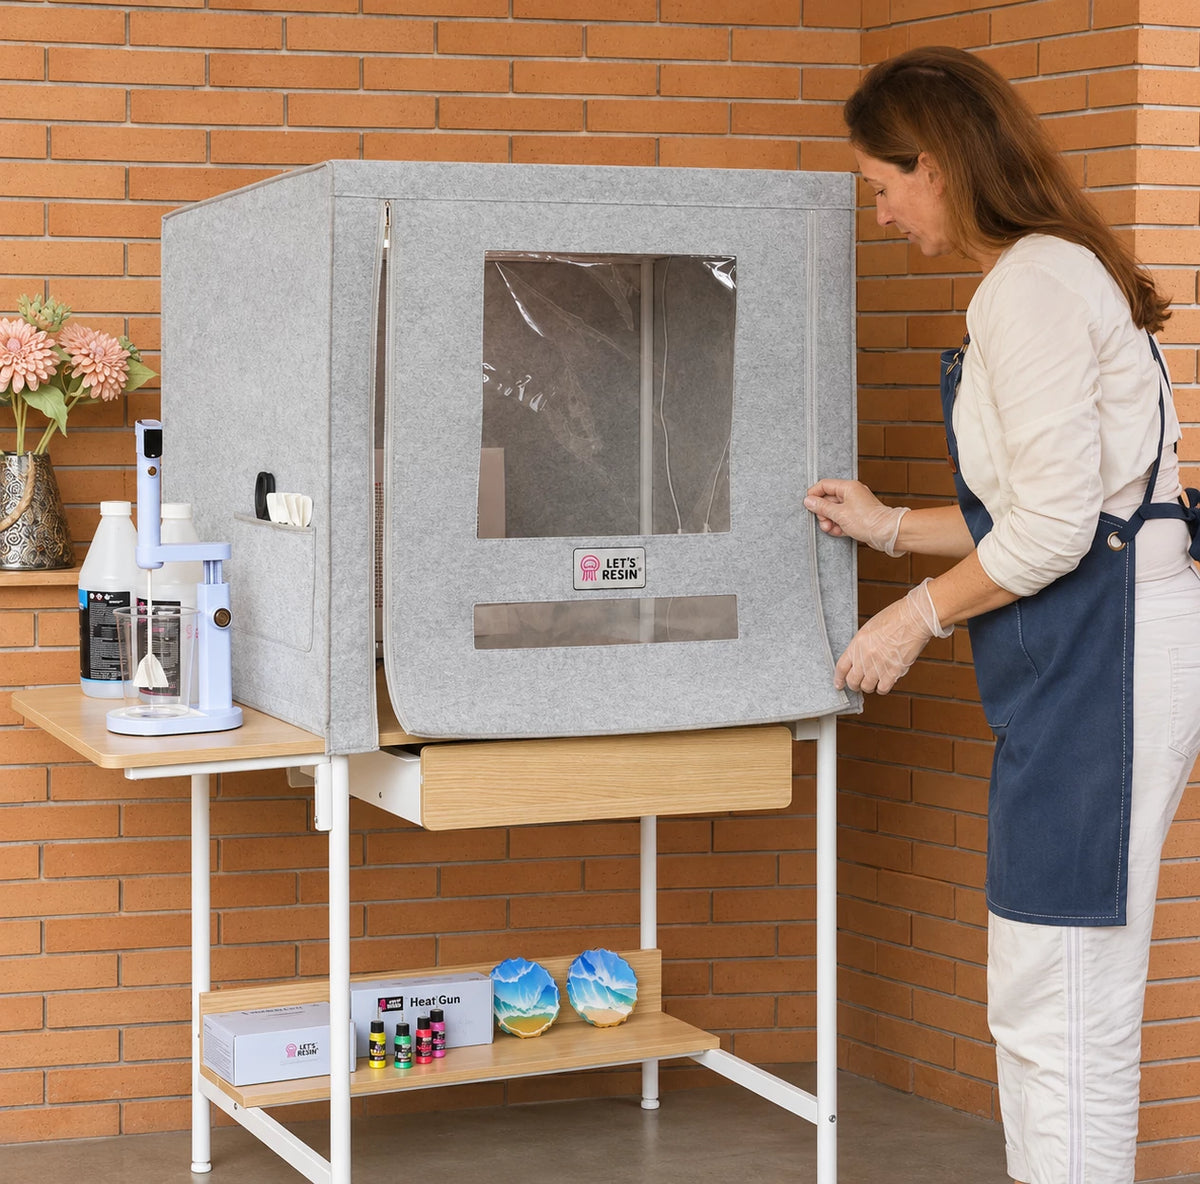
Keep everyday supplies organized in the drawer and exterior pocket.


A Resin Workspace with Room to Explore
Start with resin crafting, then explore the other craft examples shown here.
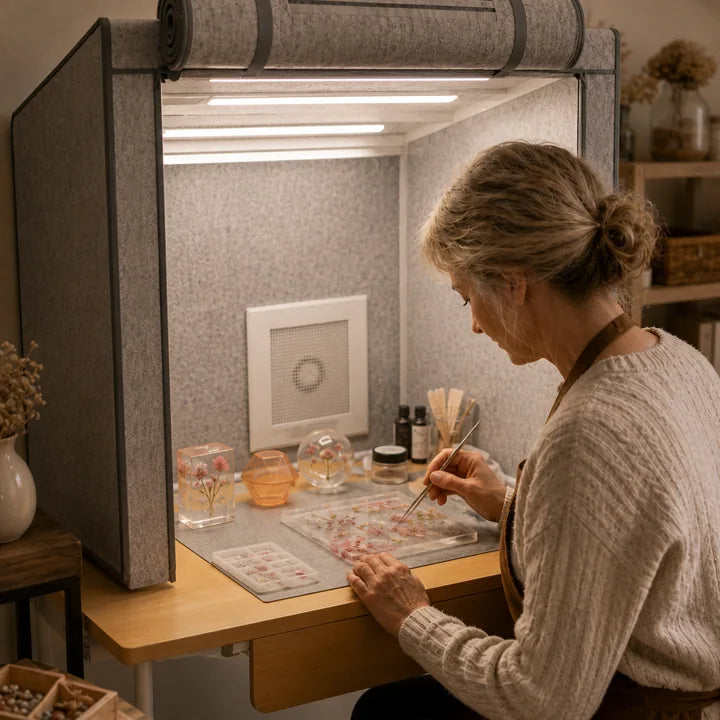


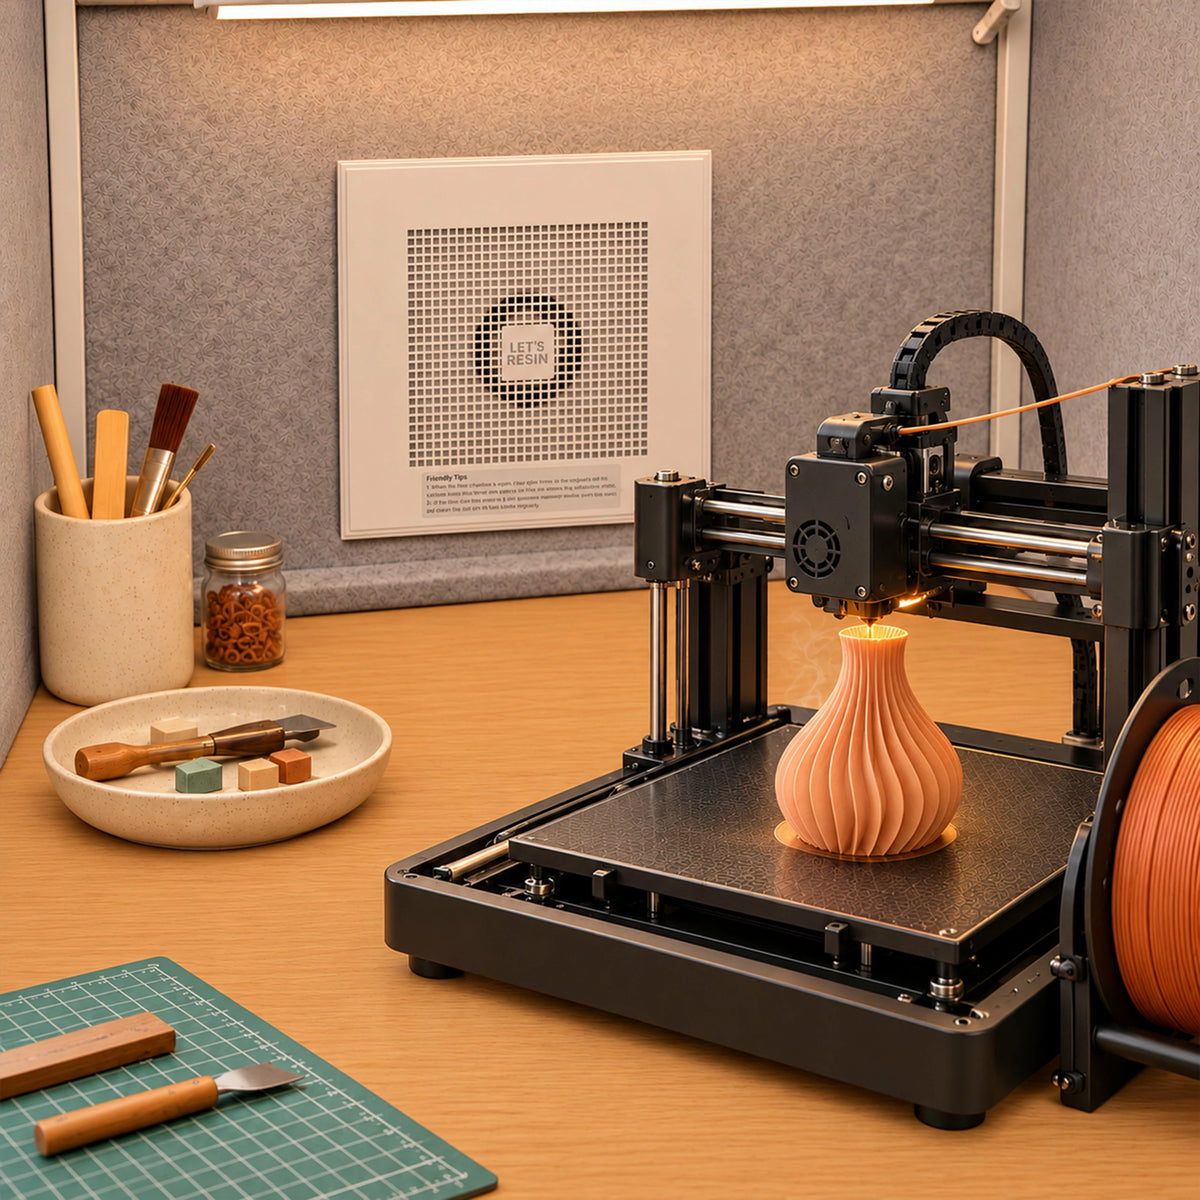
Choose tools that fit the work area. Follow the AirCube instructions, each tool’s operating instructions, and each material’s ventilation and safety requirements.
From Setup to Curing
Light your workspace, start the exhaust, and follow the curing method your resin needs.
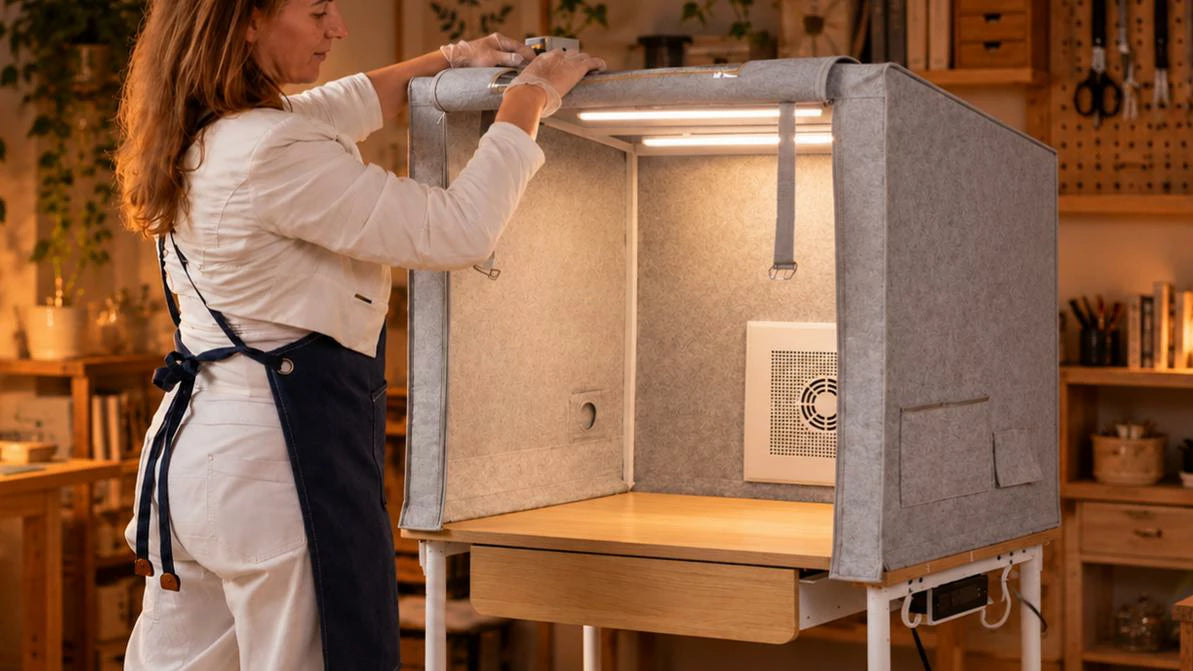
Connect the Hose, Then Switch On
Connect the hose outdoors, then switch on the fan and task lights. The fan draws air near your project and sends it outside through the hose.
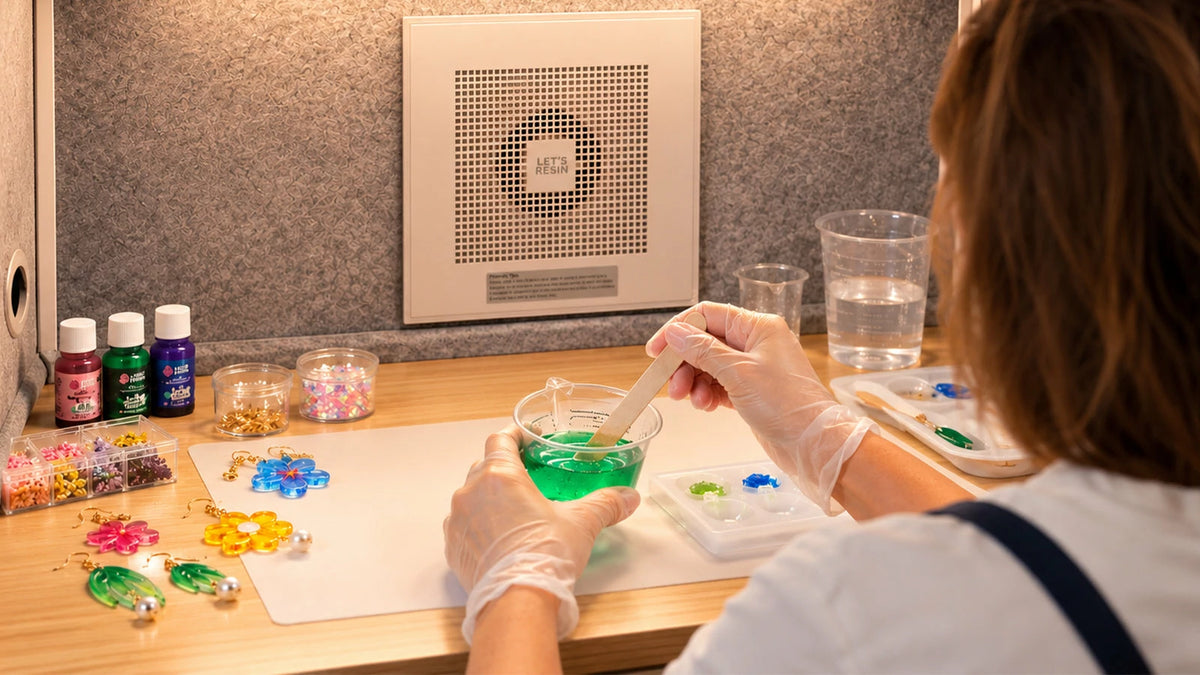
Make Your Project
Settle into your three-sided workspace and immerse yourself in making. With lighting, power, and storage around your work, tools and supplies stay close.
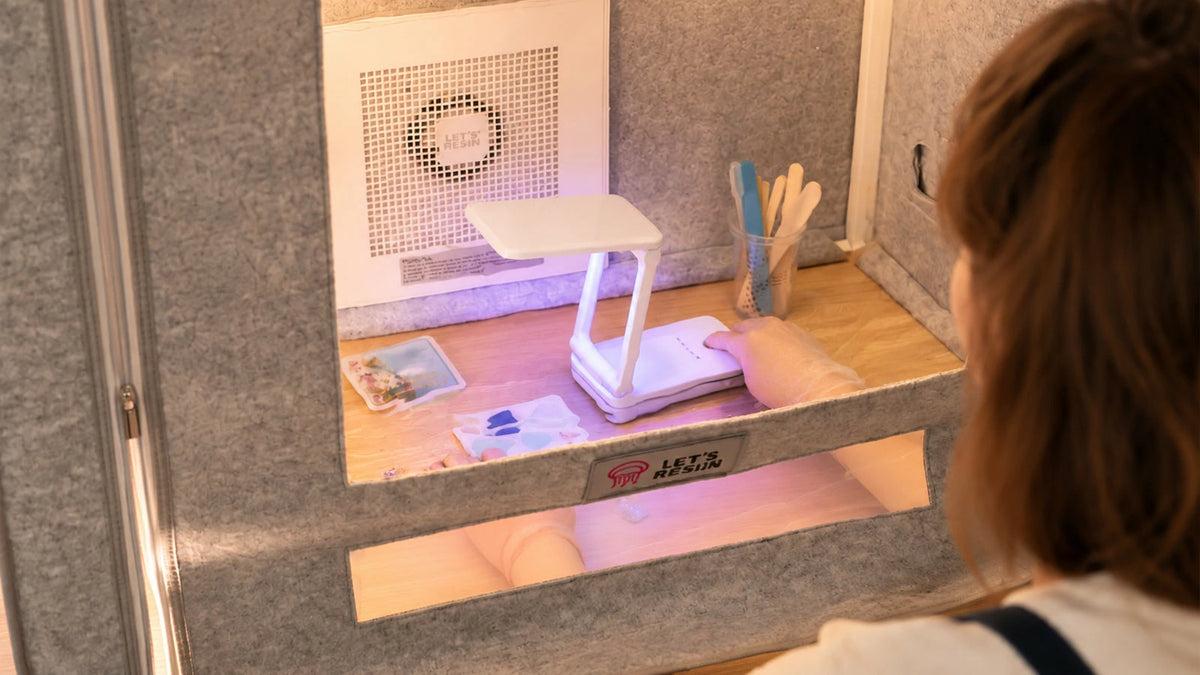
Use Your UV Lamp When Needed
For UV resin, use your lamp through the front opening. Watch your project through the front cover’s transparent window, which filters UV light to help protect your eyes.
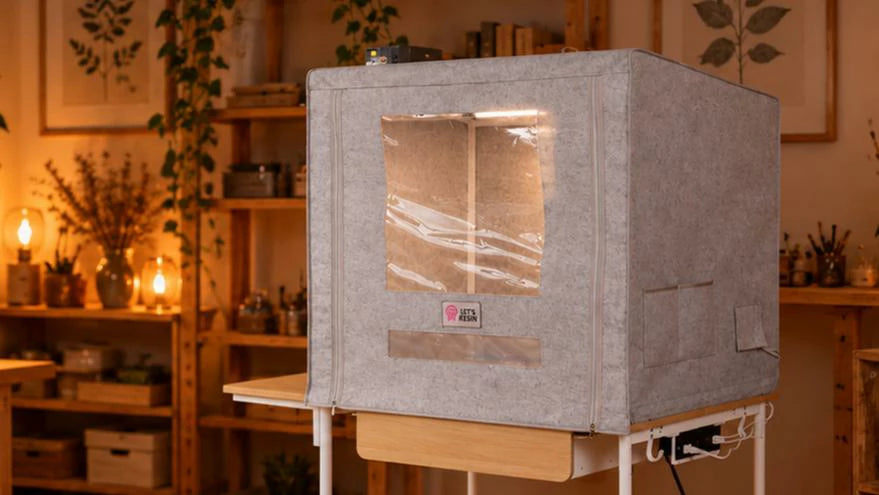
Cover Your Project While It Cures
Lower the cover to help keep dust, lint, and flying insects away while resin cures. Keep outdoor exhaust running as instructed to help limit fumes spreading indoors.
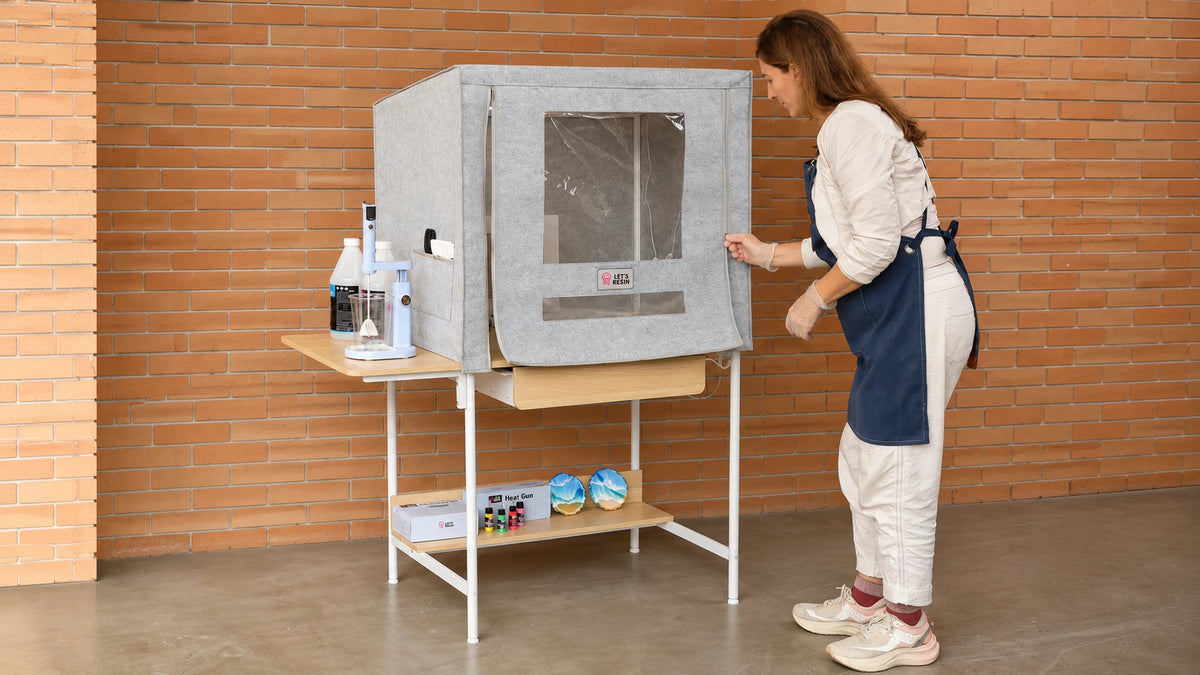
Watch the Product Walkthrough
See how lighting, tool access, storage, and outdoor exhaust come together around your work.
Will AirCube Fit Your Craft Space?
Confirm the full footprint, your seating space, and a connected route outdoors before ordering.
- Hose Connection
- Standard 4 in
- Included Hose
- Approx. 6.6 ft (2 m)
- Assembly
- Allow several hours
Room for the complete setup
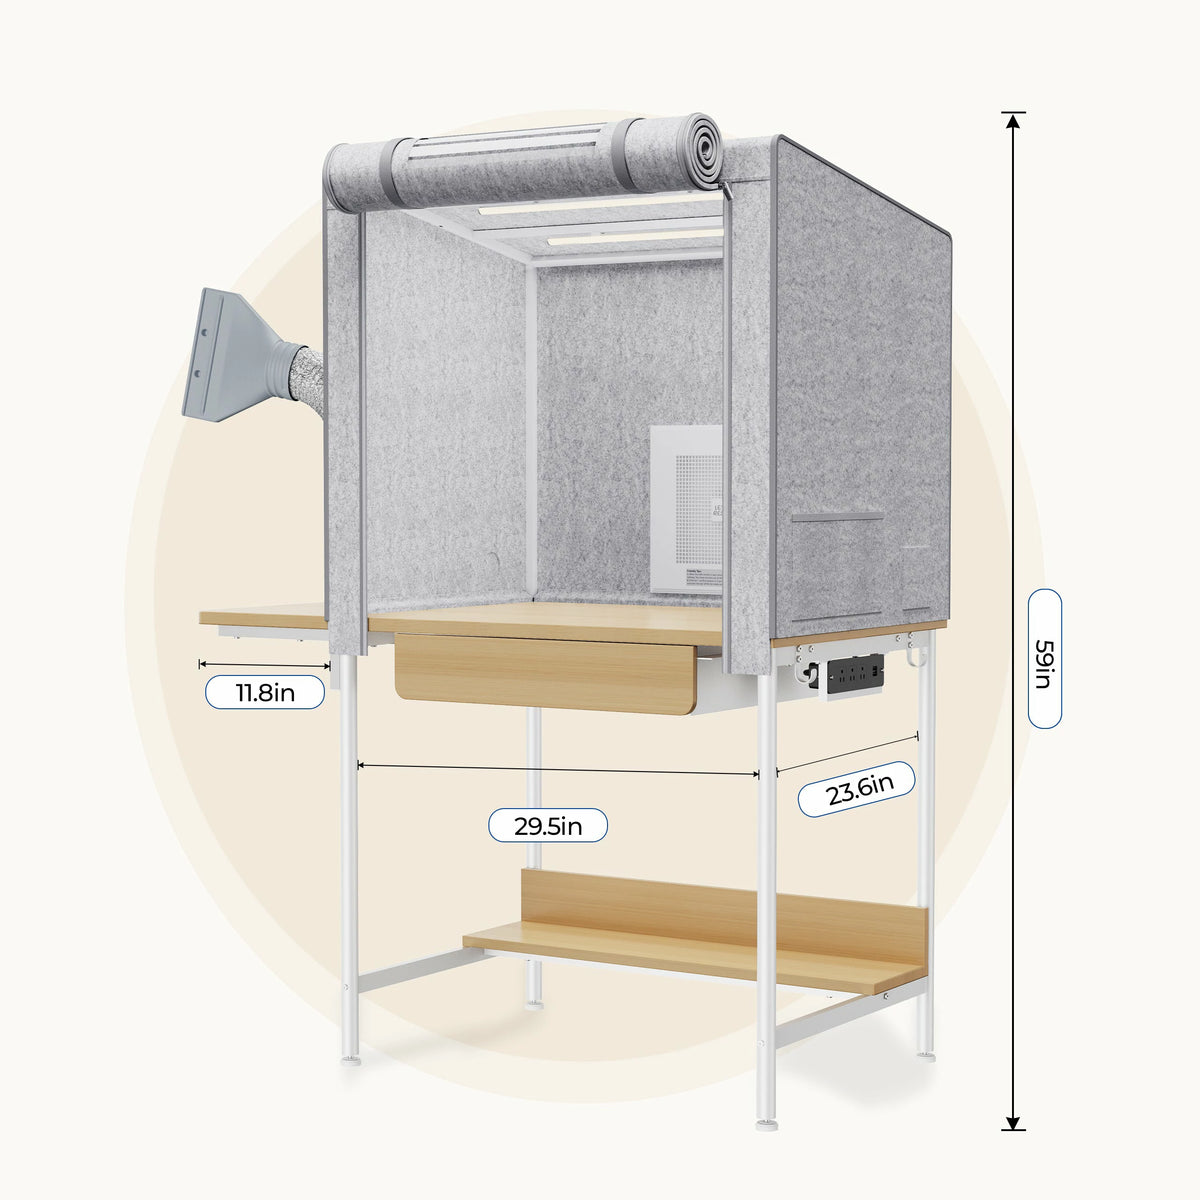
Check the full footprint with the side surface extended. Leave room for your chair and clear access around the workstation.
A connected route outdoors
The included hose is approximately 6.6 ft (2 m) long with a standard 4 in connection. Before ordering, check the route to your outdoor opening and how the hose will connect.
Time to assemble
Allow several hours for assembly. Sort the parts and screws, then follow the latest manual supplied with AirCube.
Watch the step-by-step assembly video, or ask us for help.
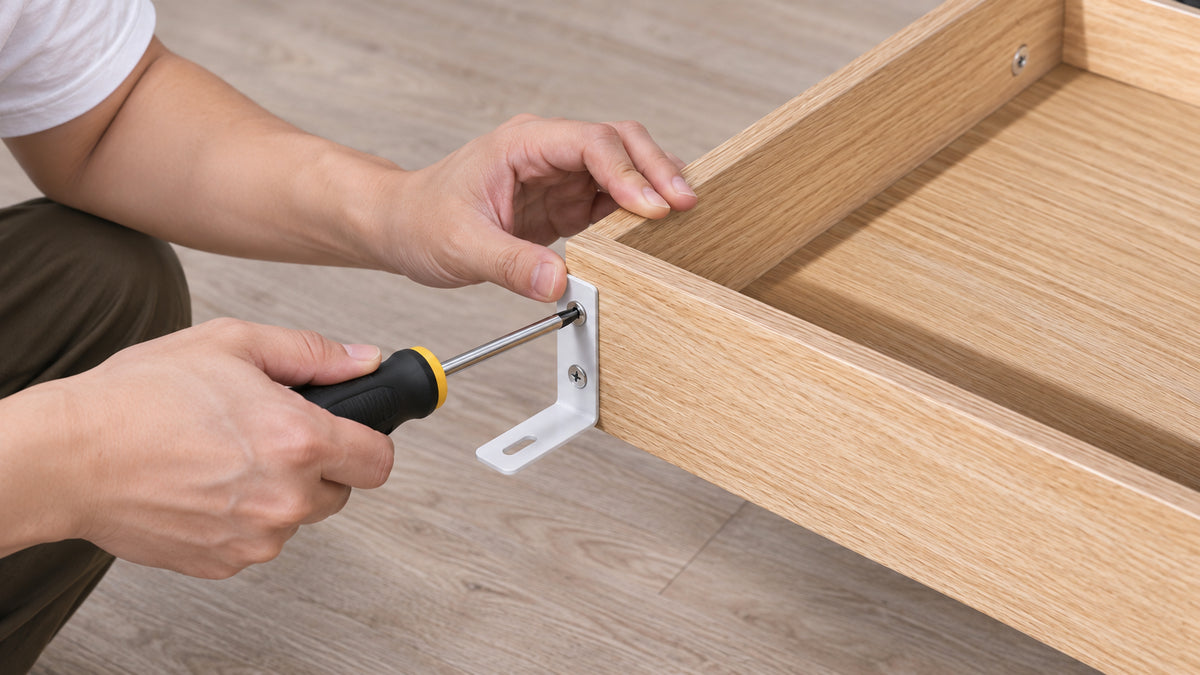
What Comes with Your AirCube
Packed in three boxes.
Packing Box A
Packing Box B
Packing Box C
Your AirCube Questions, Answered
Do I need a window or outdoor vent?
Yes. The standard setup requires a connected hose to a suitable outdoor opening. AirCube is not designed to return its exhaust air to the room.
Does AirCube replace personal protective equipment?
No. AirCube does not replace your materials’ ventilation, personal-protection, handling, or curing requirements. Follow product labels, safety data sheets, and tool instructions. Source capture does not guarantee complete fume removal.
Which projects and materials can I use?
Choose projects and tools that fit inside the work area. Resin crafting and the other scenes shown are examples, not a guarantee of compatibility with every material or machine. Follow each material’s safety data sheet and each tool’s ventilation and operating instructions.
What should I prepare for assembly?
Set aside several hours, sort the parts and screws, and follow the latest supplied manual. Assemble the enclosure, drawer, and table body as directed before joining them.
Watch the Assembly Video · 6:15 →Can it run while resin cures?
Yes. AirCube can run continuously while resin cures. Keep the airflow path clear and follow the AirCube manual and your resin manufacturer’s curing instructions.
Can airflow disturb loose mica powder?
Strong airflow can disturb fine powders. Use a lower setting for mica powder; briefly switch the fan off only if your technique requires it and the material and tool safety instructions allow it.
How do I clean AirCube?
Protect the work surface with a craft mat. Unplug AirCube before cleaning; apply a small amount of alcohol to a cloth and spot-test the surface first. Do not spray liquid into the fan, lights, or power components. Let surfaces dry fully before reconnecting.
How do I check replacement-part compatibility?
The hose uses a standard 4 in connection; check compatibility with official support before replacing parts.
Ask about replacement partsMake Room for Your Next Creation
Give resin crafting a dedicated place, with task lighting, storage, and a connected route for exhaust outdoors.
J
Wasn't sure what to expect That being said, its pretty sturdy. The fan has plenty of suction so make sure, if applying mica powder directly to the mould keep the fan off. Its definitely strong enough to blow it around. Building instructions were super easy to follow and took just a few hours to assemble. One downside was that a few of the bolt holes were un finished so I had to drill them myself. Not to big of problem if you have the tools or that but definitely unexpected. Besides that everything works well left the fan on for 24 hours to cure a piece and had no problems 😊 pretty happy with this purchase.


S
This has been an overall wonderful product to have!
The Pros:
- the smell reduction is amazing and definitely what is advertised.
- large enough space to do what I need to do. I love the ability to have the drawer and the places to hang things.
- the lights are a great touch. Much appreciated to have that option.
As far as the instructions and tools to build it went for assembly:
- the screwdriver provided didn’t end up being super useful. I swapped it out for my normal one.
- the rails were put on a bit haphazardly. When we assembled it part of it was put on tightly enough to crack it. This doesn’t damage it to the point I’m concerned about using it. It’s more cosmetic but a note.
- the drawer was hard to get into the slot
- part 3-07 got really confusing. It was hard to follow the little dots in the image to get them facing the right way and led to having to assemble it a few times before it was correct.
Overall the assembly went well however. It works great. The only other thing I can think of offhand is that there’s a strong plastic smell after assembly. It disappeared pretty quick I think it was coming from fabric? Not really a big note on that one.
Love it! Keep up the great work Let’s Resin!


V
Work station is great! Putting it together was a real pain in the neck. My husband found the instructions very unclear and suggests they add right and left side to the pieces.

C
I absolutely love mine! I waas able to put it together by myself (help would have been good but I still had no problems.) Plenty of space and storage.
A
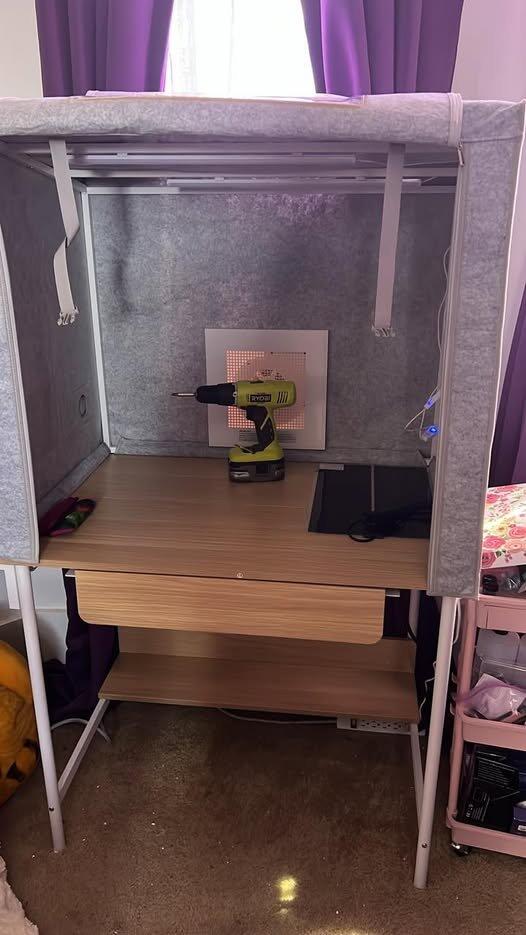
The AirCube Multi-Function Purification Workbench is perfect for working with resin in the house. I feel so much more confident and comfortable with the air going out the window while the resin is curing. The table size is perfect for almost any size of project and the zipper feature makes it easier to control any dust that might ruin the look of my projects. Sending the toxic fumes out of the window is a lifesaver, and it looks great in my craft room.
J
Wasn't sure what to expect That being said, its pretty sturdy. The fan has plenty of suction so make sure, if applying mica powder directly to the mould keep the fan off. Its definitely strong enough to blow it around. Building instructions were super easy to follow and took just a few hours to assemble. One downside was that a few of the bolt holes were un finished so I had to drill them myself. Not to big of problem if you have the tools or that but definitely unexpected. Besides that everything works well left the fan on for 24 hours to cure a piece and had no problems 😊 pretty happy with this purchase.