Today, we're going to break down the steps for making a table with dried flowers in detail. Come join us and give it a shot!
⭐ Beginner
⏳ About 1 day
Additional materials:
-
- Table legs
- Dried flowers
How to make
Step 1
Before placing the flowers, it's essential to pour a layer of resin to secure them in place. Then, you can proceed to pour the rest of the resin. If you place the flowers first and pour resin afterward, the resin might displace and scatter the flowers.
Step 2
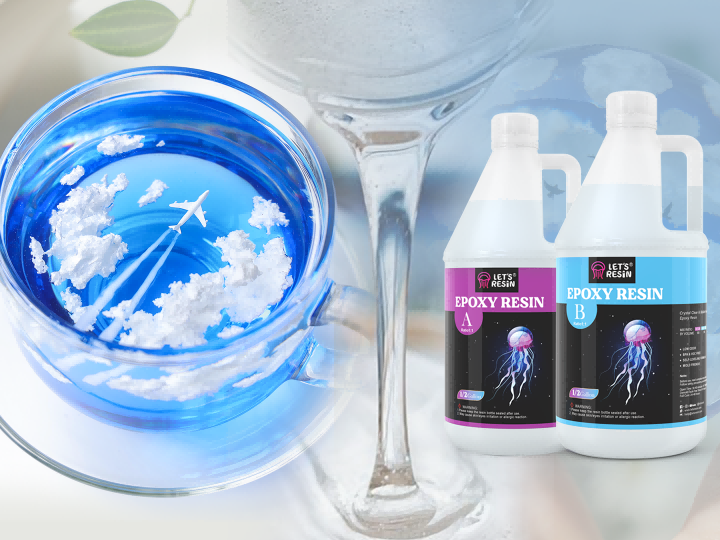
Now, let's mix the resin! When making a table, it's best to use an electric resin mixer for resin mixing. Since the mixing cup has a larger capacity, it saves time and effort when mixing larger amounts of resin. The resin we choose is 1:1 regular epoxy resin.
Step 3
We can observe there are many bubbles in the resin, but these bubbles will slowly rise to the surface and disappear. Once the larger bubbles have disappeared, it's time to start pouring the resin into the mold.
Step 4
Let's pour the first layer of resin. This layer is meant to secure the flowers, so it should be relatively shallow, probably around 0.2-0.3 centimeters. If the resin is too deep, the flowers might float. You can arrange the flowers according to your preferences.
Step 5
Please wait for the first layer of resin to cure before pouring the second layer. This ensures that the position and condition of the flowers are fixed and won't be disrupted by the resin. It's also important to place the unused flowers in a sealed box. This helps isolate them from humid air, preserving their dryness and preventing them from becoming soft or moldy.
Step 6
Once the first layer of resin has cured, you can proceed to pour the second layer. For each subsequent layer of resin, it's important to maintain a thickness of around 5 centimeters. If it exceeds this height, there's a risk of flash cure or the presence of numerous small bubbles that are challenging to eliminate.
Step 7
Now, we can start pouring the second layer of resin. Keeping the depth within 5 centimeters should prevent flash cures. After pouring the second layer of resin, it's a good idea to cover it with a lid to prevent dust from getting in. Now, we've reached the third layer of resin. This layer should also be around 5 centimeters. At this point, most of the flowers are covered by resin, leaving only a bit of the stems.
Step 8
Next is pouring the fourth layer of resin, which is the final layer. In this situation where the flowers are already covered, there's less risk of flash cures and bubbles. So, you can pour a bit more resin based on your need for the last layer. Now, it's time to wait for the resin to fully cure.
Step 9
Next, it's time to demold. Before demolding, give the sides of the mold a gentle twist to loosen it up a bit. Finally, just attach the table legs, and we're ready to use the table.