Hi everyone! In the previous episode of our beginner tutorial, we talked about some useful tips for color mixing and removing bubbles from resin. Today in our final episode, we will be sharing some insights on how to prevent resin layering, the curing time of finished products and clean up after your resin projects. Let's get started!
⭐ Beginner
Video Tutorial
1. Prevention of Resin Delamination
(Timeline: 0:30-1:37)
Many people encounter a common issue when creating large resin pieces in layers – there are noticeable seam marks at the resin boundary lines. Here are two suggestions to help you avoid this problem.
The first suggestion is to use the same bottle of resin throughout the entire creation process. While many commercial resins may seem similar, variations can occur between different production batches, leading to slight density differences. Using the same bottle of resin for an entire project helps ensure consistency in density.
The second suggestion is to ensure that the resin mixing ratio remains consistent with each layer. Inconsistent ratios in resin mixing can lead to variations in density during the curing process, resulting in noticeable dividing line.
There will always be some slight seam marks at the interface, and it's challenging to completely avoid them. We can just minimize their visibility as much as possible. Hope these tips are helpful to you!
2. The Curing Time
(Timeline: 1:38-2:57)
For thicknesses of 5 to 8 mm, it will take about 6 to 8 hours to cure. Fully curing time is 12 to 16 hours.
For a thickness of 20 mm, it will take 4 to 6 hours to cure. Fully curing time is 8 to 12 hours.
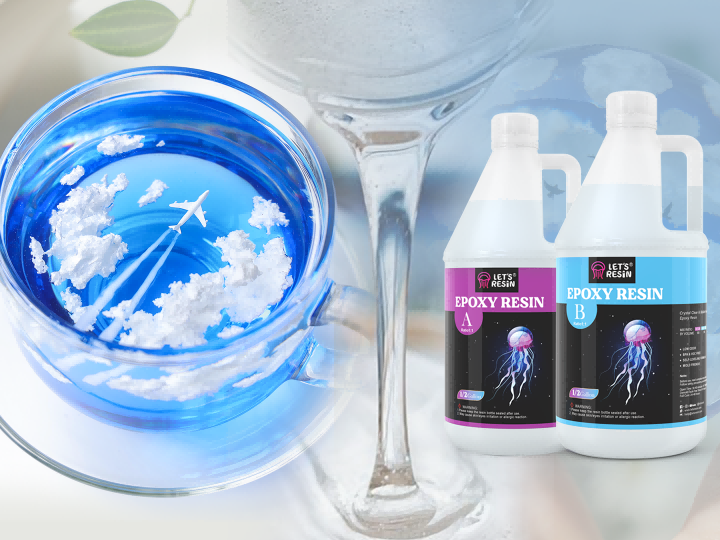
3. Resin Type Selection
(Timeline: 2:04-1:37)
For molds with greater depth and intricate patterns, it is recommended to use deep pour resin. The deep pour resin is thinner in consistency, making it difficult to have air bubbles in molds with crevices and details. Additionally, deep pour resin is also suitable for creating larger pieces, as it is less likely to have flash cure.
If you want to create a phone stand or a wine rack, it is recommended to use table top resin, because it have a higher hardness, providing better weight-bearing capacity.
If you want to create small jewelry pieces or keychains, it's recommended to use fast cure resin. This is because small and thin projects may take longer to cure, but you can get the cure projects in approximately 6-8 hours with fast cure resin.
4. Cleaning Part
(Timeline: 2:58-3:55)
Cleaning up the workspace is also important. Here are some tips for cleaning.
①Hands
You can rub it with alcohol and wash it with soapy water at the end.
②Desktop
Spray alcohol on the resin spill area and wipe clean with paper towels.
③If the mold is stuck with cured resin particles, you can use tape to peel them away.
④If glitters or gold foilis stuck to the mold, you can also use tape to remove it.
⑤If mica powder is stuck to the mold, you can use alcohol to wipe it off.
5. Safety Precautions
(Timeline: 3:56-4:44)
①Please wear impermeable gloves while working with resin.
②If resin comes into contact with hands, please wipe it clean with alcohol and then wash it with soapy water.
③In case of accidental contact with resin to the eyes, rinse immediately with water and seek medical attention if necessary.
④Store uncured resin in a high place to prevent accidental contact by children and avoid contact with food.